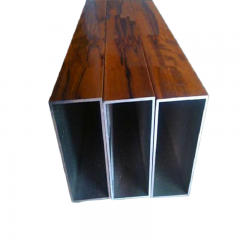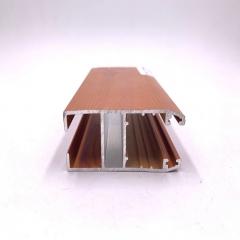
If you are learning how to cut extruded aluminum, choose the method before you touch the saw. The real question is not just how to cut aluminum, but which setup gives you the least movement, the cleanest edge, and the safest cut for your profile. Quick shop guidance from INT Machinery, SinoExtrud, and The Fabricator all point in the same direction: use a tool suited to nonferrous cutting, keep the work stable, and do not ignore chip control.
If you are asking, "how can i cut aluminum" with the fewest surprises, start with the profile itself. For straight crosscuts on pieces that fit the saw, a properly equipped miter-style or cutoff setup is often the most practical starting point. SinoExtrud lists miter saws with non-ferrous blades among the most reliable general-use tools, while INT Machinery describes proper aluminum chop saws as common and economical for extrusion work. Band saws can also cut aluminum well, but The Fabricator notes that soft nonferrous materials can load gullets and that structural shapes create interrupted cuts, which raises the importance of blade pitch and cutting parameters.
Straight crosscuts are usually easiest on a properly equipped miter-style setup when the profile fits the saw.
| Method | Cut quality | Repeatability | Beginner friendliness | Setup effort | When to avoid |
|---|---|---|---|---|---|
| Miter saw | Good to very good with a non-ferrous blade and rigid setup | Good | High | Low to moderate | When the profile exceeds capacity, support is poor, or the saw is a light-duty wood-first model |
| Chop saw or dedicated cutoff saw | Very good for straight profile work | Very good | Moderate | Moderate | When you need improvised clamping, have no infeed or outfeed support, or the machine is not intended for steady aluminum work |
| Circular saw | Variable | Variable to good with a guide | Low to moderate | High | When long stock cannot be fully supported and guided |
| Table saw | Variable to good in manual-approved nonferrous setups | Good | Low | High | When shapes are unstable against the fence or the saw and blade guidance do not support nonferrous cutting |
| Band saw | Fair to good, highly blade-dependent | Moderate | Moderate | Moderate | When you need assembly-ready faces without tuning blade pitch, speed, and feed |
| Outsourced cutting | Excellent | Excellent | Very high | Low | When you only need a quick one-off adjustment in the shop |
The best way to cut aluminum changes with size, wall thickness, shape, alloy, and quantity. Small to medium sections usually favor miter-style cutting. Thin-wall and hollow profiles need more support because they can vibrate or deform. Open sections such as channel, angle, and similar shapes create interrupted cuts, which are tougher on blades. Alloy matters too. Nonferrous grades do not all behave the same, and softer materials can gum up teeth if heat and chip evacuation are not controlled. Quantity shifts the answer again: one or two cuts may justify a simple in-house setup, while repeated identical lengths often justify dedicated equipment or outsourcing. In other words, the best way to cut aluminum is the method that matches the profile first, not the tool you already own. The saw choice gets you close. Blade choice, clamping, and fence accuracy decide the result.
The tool choice only gets you part of the way there. Clean, square results usually come from the setup around the blade. Aluminum is soft and can load or gum up the teeth, so a hurried setup often cuts worse than a smaller saw that is rigid, square, and properly fitted. If you are choosing a saw to cut aluminum, put blade selection, clamping, support, and chip control ahead of raw motor size.
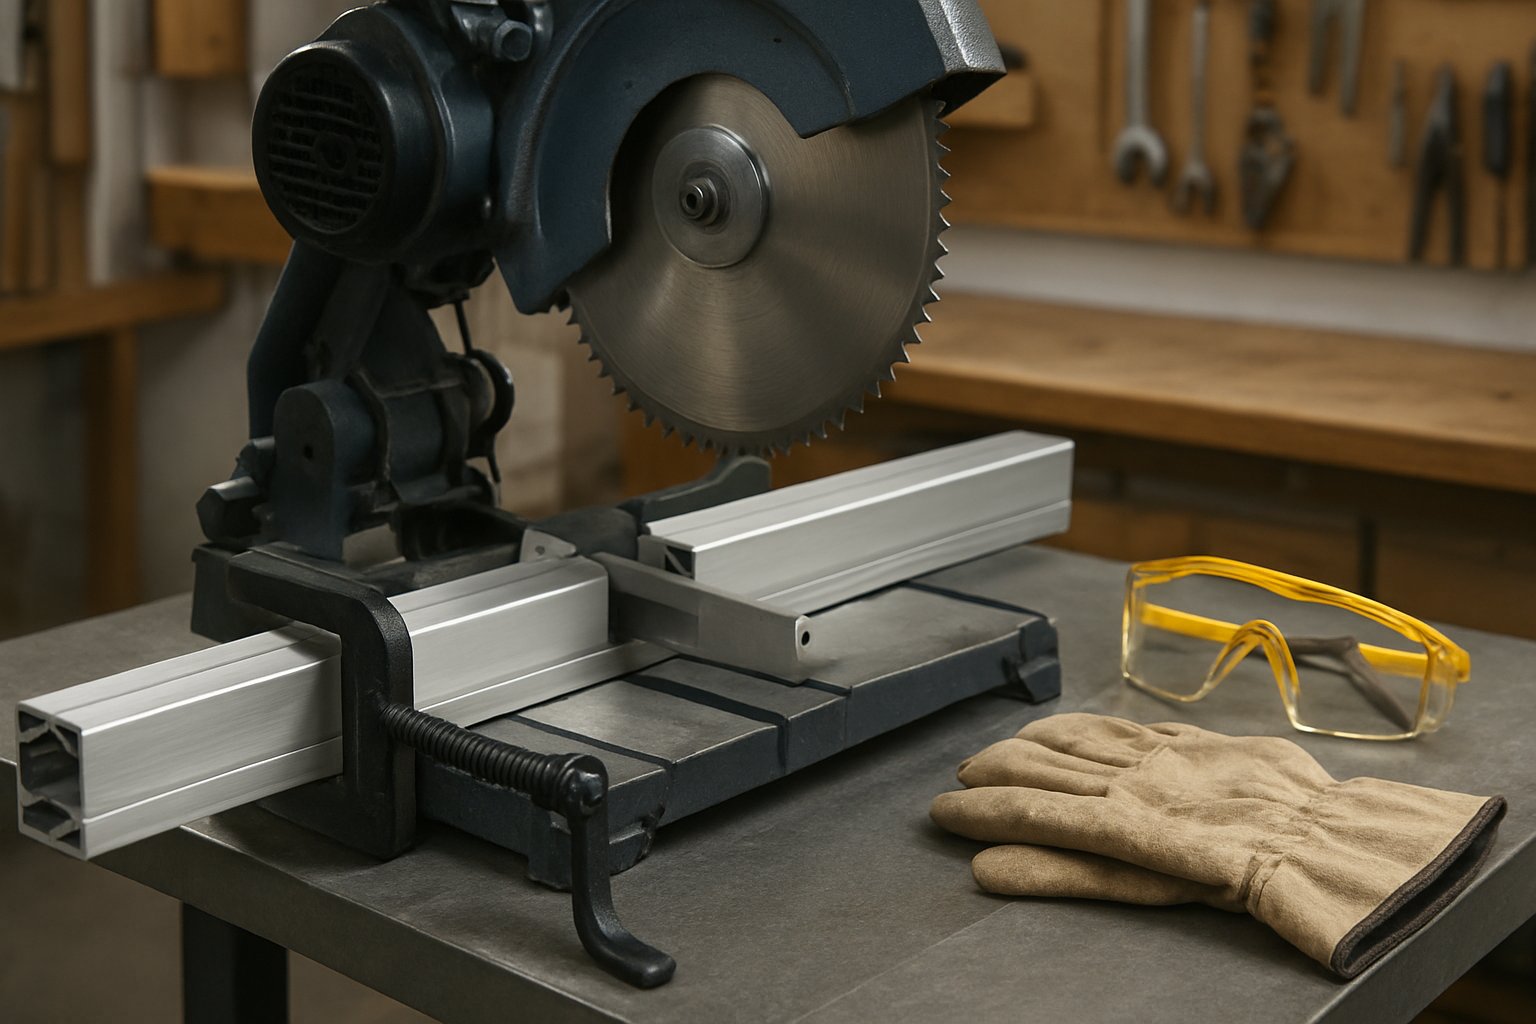
Start with the basics and keep them non-negotiable. Paramount's fabrication guide stresses safety glasses, hearing protection, secure clamping, and full support for longer pieces. That lines up with what matters most in practice: the extrusion must stay still, the fence must be square, and chips must not distract you mid-cut. If your saw manual or blade maker gives instructions that differ from general advice, follow the manufacturer first.
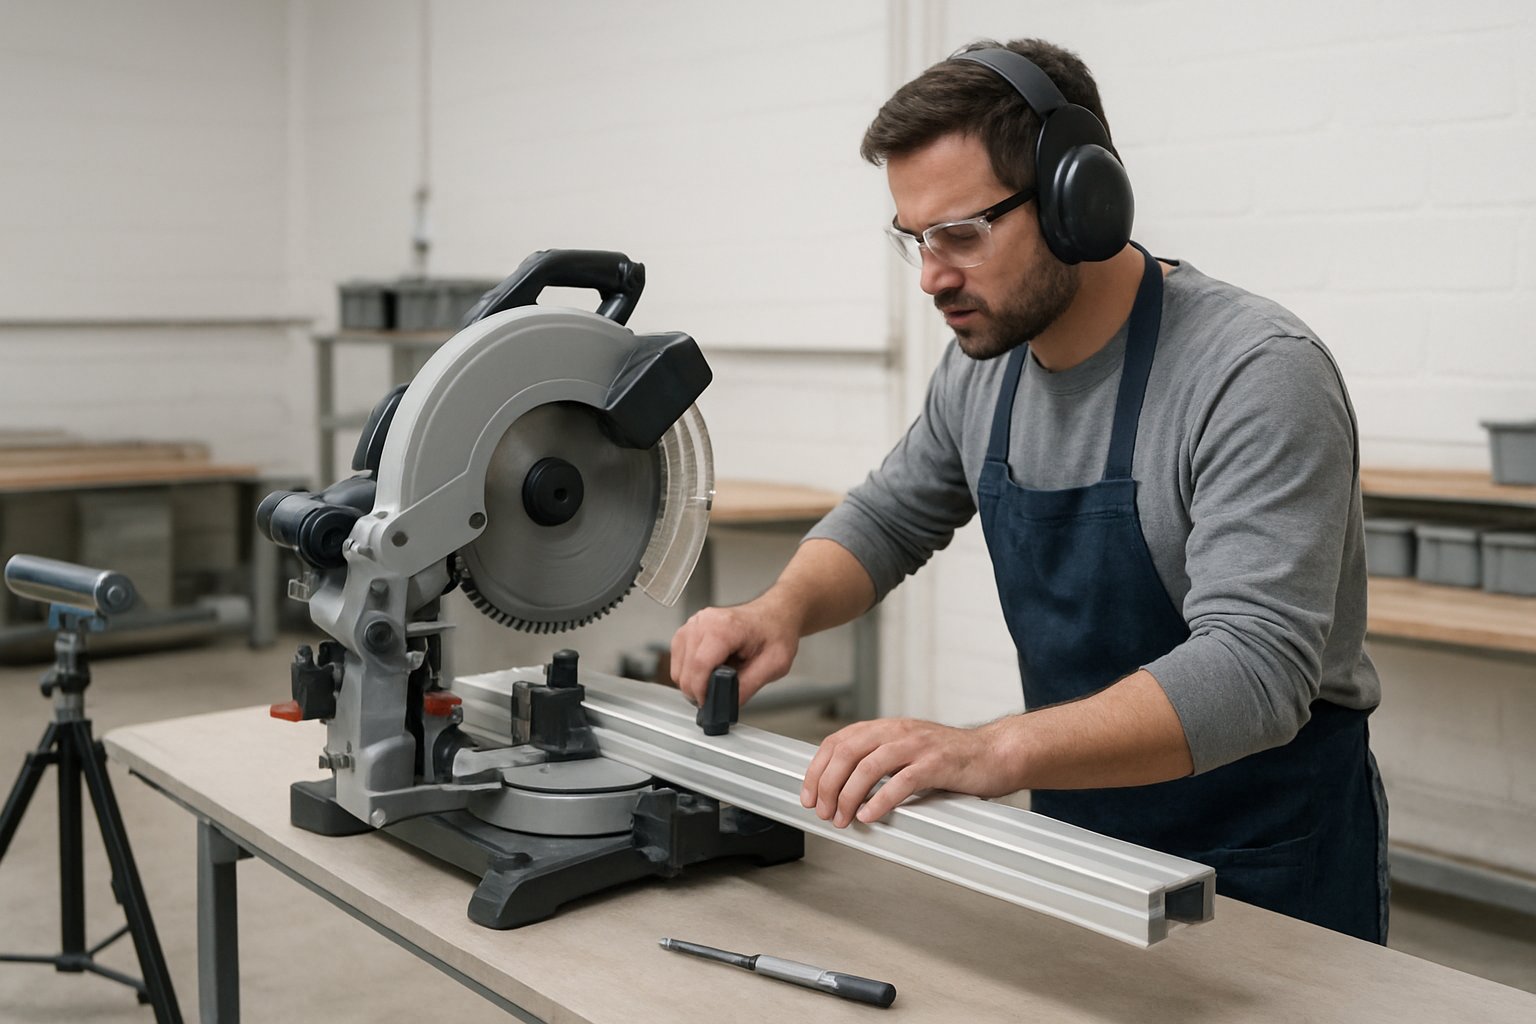
People often search miter saw aluminum as if the machine name alone decides the result. It does not. A miter-style setup works well only when the stock is fully supported and held tight against a square fence. The same is true for a chop saw for cutting aluminum.
Blade choice is where clean cuts usually begin. ToolsToday blade guidance highlights carbide-tipped blades made for aluminum, with negative hook grind tooth geometry and triple-chip cutting to reduce loading and improve chip ejection. The same source notes that aluminum is softer than steel and more prone to gumming up, which is exactly why the right saw blade matters more than simply adding power. Paramount also recommends non-ferrous carbide blades and suggests about 60 to 100 teeth for power saws, depending on blade diameter. Light cutting wax or spray can help on thicker profiles, but only when the saw or blade manufacturer recommends it.
| Saw type | Extrusion shape | Desired cut finish | Blade guidance | Lubrication and backing notes |
|---|---|---|---|---|
| Miter saw | T-slot, tube, angle, small to medium sections | Clean, square, assembly-ready crosscuts | Carbide-tipped non-ferrous blade; 60-100 teeth depending on blade diameter; use negative hook and triple-chip geometry when specified by the blade maker | Wax or spray only if approved by the manufacturer; sacrificial backing can help support thin walls or protect coated faces at cut exit |
| Cutoff or chop saw | Straight structural profiles and repeat lengths | Clean repeat cuts | Same non-ferrous carbide guidance as above; match blade size and arbor to the saw | Optional lubricant only when allowed; backing is useful when thin sections show edge breakout |
| Circular saw with guide | Long stock, wider profiles, field work | Good cut with more cleanup risk | Use a blade specifically rated for non-ferrous metal cutting | Use lubricant only if the blade maker allows it; backing can steady thin or coated material |
| Table saw | Flat-sided profiles that stay stable to the fence | Accurate trimmed cuts | Only if the saw manual permits non-ferrous cutting; use a non-ferrous carbide blade with the maker's recommended geometry | Keep support continuous; backing may improve exit quality if the setup allows it safely |
| Hacksaw or manual miter box | Small sections and field adjustments | Usable cut that usually needs deburring | Fine-tooth hacksaw blade, about 18-24 TPI | Protect the finish in the vise; lubrication only if the blade guidance allows it |
For an aluminum cutting miter saw, the biggest upgrade is rarely more power. It is the correct blade, a square fence, rigid workholding, and steady support through the cut. A wrong blade can chatter even on a strong machine. A properly equipped setup will usually cut cleaner, safer, and more repeatably.
That precision starts before the switch is ever pulled. A bowed stick, a hidden dent, or a vague mark line can undo even the best blade choice.
Plenty of bad cuts start long before the motor does. The prep work decides whether the blade tracks cleanly or spends the whole cut fighting movement. In IMS's guide, precision begins with accurate measuring, marking, and secure clamping. That is the right mindset here. Measuring, support, and workholding are part of cut quality, not a separate chore.
Careful layout prevents wandering cuts, scratched faces, pinched blades, and fit problems that only show up during assembly. Get the line clear, the stock supported, and the clamp pressure right, and the saw has a far easier job when it enters and exits the material.

A clean mark and a solid clamp pay off right here. Both the Instructables method and Paramount guide describe the same cutting habit: secure the profile, use a blade intended for non-ferrous metal, and let the blade do the work. For occasional DIY jobs, cutting aluminum with miter saw setups or cutting aluminum with chop saw setups is often the most forgiving option when the extrusion fits the saw capacity, because the fence helps hold a square crosscut and the blade path is easy to control. If you are asking, can i cut aluminum with a miter saw, the answer is yes with the proper blade and workholding. If your question is can i cut aluminum with a chop saw, follow the same rule and treat your saw manual as the final word on setup details.
Most problems during cutting aluminum on chop saw setups come from movement, wrong blade choice, or rushed feed pressure, not from a lack of motor power. When the stock gets longer, wider, or harder to support than this straight crosscut method allows, a different saw starts to make more sense.
Some extrusions simply outgrow a miter saw station. Long rails can sag, oversized sections may not fit the saw capacity, and awkward profiles can shift even when the cut line is marked correctly. In those cases, choose the tool around support and stability first. Guidance from Alekvs treats circular saws as a strong option for straight-line aluminum work when the blade, guide rail, clamping, and support are all set correctly. IMS also highlights the downside of poor matching: band saw cuts can turn wavy when stabilization is weak, and off-angle cuts create extra fitting work later.
For long members, cutting aluminum with circular saw setups is often more practical than trying to balance a full stick across a small chop saw table. Alekvs recommends carbide blades made for aluminum, a guide rail, secure clamping, and support for long or slender stock. The same source lists roughly 60 to 70 teeth, about 2,000 to 2,500 rpm, and 40 to 60 mm/min feed as a reference range for profiles up to 80 mm in section size, though the saw and blade instructions still control the final setup.
| Tool | Best workpiece length | Support needs | Cut speed | Finish quality | Repeatability | Main risk points |
|---|---|---|---|---|---|---|
| Circular saw | Long stock and oversized profiles | High, with guide rail, clamping, and full infeed and outfeed support | Moderate to fast | Good with the right blade and steady feed | Good when the guide is fixed and the stock is supported | Guide drift, blade loading, exit burrs, unsupported stock movement |
| Table saw | Manageable straight pieces with a stable reference face | High, with square fence and reliable outfeed support | Moderate | Good when the profile stays flat and controlled | Good for repeated straight cuts | Fence instability on hollow or open shapes, loss of squareness, poor control at exit |
| Band saw | Long, awkward, or rough-size work | Moderate to high, depending on stock length and blade stability | Slow to moderate | Fair to good, often rougher than a guided circular cut | Moderate | Wavy surface, blade drift, off-square faces |
A band saw earns its place when the stock is awkward or when you only need a clean rough cut before later machining. A table saw is more selective. If you want to cut aluminum with table saw equipment, keep it to straight operations on profiles that sit flat and stay controlled against the fence, and only when the saw and blade guidance allow nonferrous work. That is why cutting aluminum with a table saw is usually a setup decision, not an automatic recommendation.
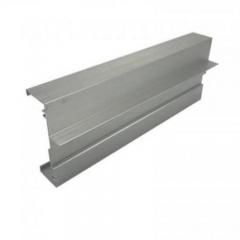
Owning the saw is not the same as having the right saw for the job. Long stock pushes the decision toward guidance and support. Finish requirements decide whether a rough cut is fine or whether you need a cleaner, squarer edge immediately. Shape complicates that choice even more, because a hollow tube, open channel, and heavy T-slot profile do not react the same way under the blade.
Shape is where good saw technique gets tested. The same blade and saw can behave very differently on square tube, angle, or T-slot. If you are learning how to cut aluminium extrusion cleanly, treat profile geometry as part of the setup, not a side detail. The best way to cut aluminium is usually the orientation that gives the blade a stable entry and gives the workpiece full support from start to finish.
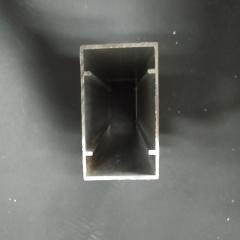
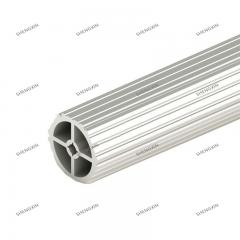
Hollow sections and light walls are more likely to chatter, flex, or deform under clamp pressure. That matters when cutting aluminum tubing, thin decorative profiles, or small extrusions with coated faces. Keep the work fully supported, place the clamp on the strongest supported area of the section, and use a slower, steady feed so the teeth slice instead of pounding the wall. If the exit edge tends to break out, sacrificial wood or MDF behind the cut can help support the trailing edge and reduce marking on delicate finishes.
| Profile type | Best orientation against fence | Clamp placement | Backing and support help | Cutting note |
|---|---|---|---|---|
| Hollow tube | Keep the broadest flat face stable to the fence and table | Clamp over a supported wall, close to the cut without crushing the section | Use exit backing if burrs or breakout appear | Steady feed helps limit ringing and wall distortion |
| Open channel | Register the web or widest stable face, not a narrow edge | Clamp where the section cannot twist open under pressure | Support the open side so it does not vibrate | Interrupted cuts often need slower feed and firm support |
| Angle | Avoid balancing on a point, use the most stable two-face contact you can create | Clamp to stop the legs from walking or rocking | Auxiliary support helps keep both legs from flexing | Watch for blade drift if one leg is unsupported |
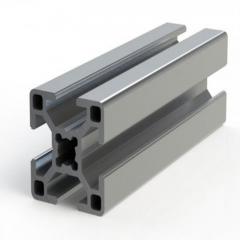
| T-slot | Use the widest, flattest reference face against the fence when possible | Clamp near the cut on a solid rib or thick section | Keep both infeed and offcut sides level to protect slot geometry | Good support matters more than speed for repeatable framing cuts |
| Thin-wall profile | Choose the orientation with the most wall support and least chance of collapse | Use lighter clamp pressure, often with soft pads | Backing is especially useful at cut exit | The best way to cut aluminium here is usually slow feed and full support |
| Large heavy profile | Keep the largest stable face referenced and the stock level with the saw bed | Use secure clamping and prevent the piece from levering away from the fence | Infeed and outfeed stands are essential | Weight shift near the end of the cut can ruin squareness |
Open profiles create uneven blade entry and exit, so they usually need more support than a simple box section. When cutting aluminium extrusion for frames, guards, or machine bases, test the orientation on scrap before committing to repeated lengths. If the material has an unusual alloy, hard temper, anodized finish, powder coat, or protective film, check supplier fabrication guidance before changing clamp pressure, backing, or feed habits.
Good support protects more than the cut itself. It preserves finish, fit, and squareness while the blade is still in the material. Even a clean-looking piece can leave the saw with burrs, chatter marks, or a slight out-of-square face that only shows up at assembly.
A cut can look clean at the saw and still cause trouble at assembly. Tiny burrs catch fingers. Chips hide in slots. A slight angle error may not show up until two parts meet. That is why finishing is not just cosmetic. It is the last accuracy check on the part and one of the clearest ways to judge whether your saw cutting aluminum setup is really under control.
The best finish usually comes from correcting blade choice, support, and feed, not from grinding away mistakes after the cut.
When the edge looks wrong, look upstream first. This cutting issues guide links burrs, rough edges, angle drift, thin-wall deformation, and chip buildup to blade condition, tooth geometry, clamping, feed control, runout, and extraction. A cutting speed calculator can help when a blade maker provides speed targets, but it will not rescue a dull blade or a flexible setup. In practice, saw blade cutting aluminum cleanly depends more on sharp teeth, stable support, and controlled feed than on aggressive post-cut sanding.
| Problem | Likely cause | Corrective action |
|---|---|---|
| Burrs at the edge | Dull blade, wrong tooth geometry, chatter, or dry cutting on gummy material | Clean or replace the blade, review blade choice, steady the setup, and use lubrication or mist only if the saw or blade maker allows it |
| Blade grabbing or snatch | Too much feed on entry or exit, poor support near the blade, runout, or thin-wall crush | Slow the entry and exit, support the profile closer to the cut, check runout, and use softer or wider clamp pads on delicate walls |
| Surface scratching | Trapped chips, poor extraction, or clamp pads marking the finish | Clear swarf paths often, improve chip control, and use pads that grip without marking coated surfaces |
| Drift or inconsistent angle | Sloppy clamping, positioning wear, thermal shift, or stop error in repeated work | Recheck the saw setting, verify clamp pressure, and sample parts through the batch instead of trusting the first cut only |
| Rough finish or chatter marks | Blade loading, gummed teeth, weak chip control, or an unstable profile | Clean or replace the blade, balance feed and speed, clear chips, and improve support on both sides of the cut |
| Off-square cut | Profile movement during the cut, uneven support, or angle drift | Improve workholding, keep both sides level, verify the saw setting again, and confirm the result with a square and dry fit |
If the same defect keeps appearing, stop treating it as a finishing issue. Rework, repeated measuring, and hand cleanup add up quickly. When inspection starts taking longer than the cut itself, the smarter question may be whether that job still belongs in a manual in-house process.
A pattern usually shows up by this stage. If every part needs extra deburring, length sorting, and dry fitting, the saw is no longer the only issue. SinoExtrud describes repeatability as holding the same dimensions across runs, not just getting one acceptable part. That is the real dividing line between occasional DIY work and production-level extrusion cutting.
| Option | Repeatability | Secondary machining | Finishing options | Best project volume |
|---|---|---|---|---|
| Shengxin Aluminium supplier processing | High when drawings and inspection points are clearly defined | Cutting, drilling, bending, and CNC machining in one workflow | Anodizing, powder coating, polishing, hard anodized, and mill finish options | Medium to high volume, repeat orders, custom profiles, and finished parts |
| Local fabrication cutting | Moderate, depends on fixturing, operator control, and shop inspection | Often suitable for cut-to-length work and some follow-up machining, but scope varies by shop | May be limited or sent to outside finishers | Low to medium batches and local turnaround jobs |
| DIY in-house cutting | Operator dependent, best for simple repeat work or one-offs | Usually limited to cutting and deburring unless you add more equipment | Separate step after cutting | Prototypes, small repairs, and occasional shop use |
DIY still makes sense for quick modifications and short runs. The balance changes when parts also need holes, slots, threads, or machined faces. Those follow-up operations are standard aluminum extrusion processes in Trim Tool & Machine's overview, which is why cut quality alone should not drive the decision.
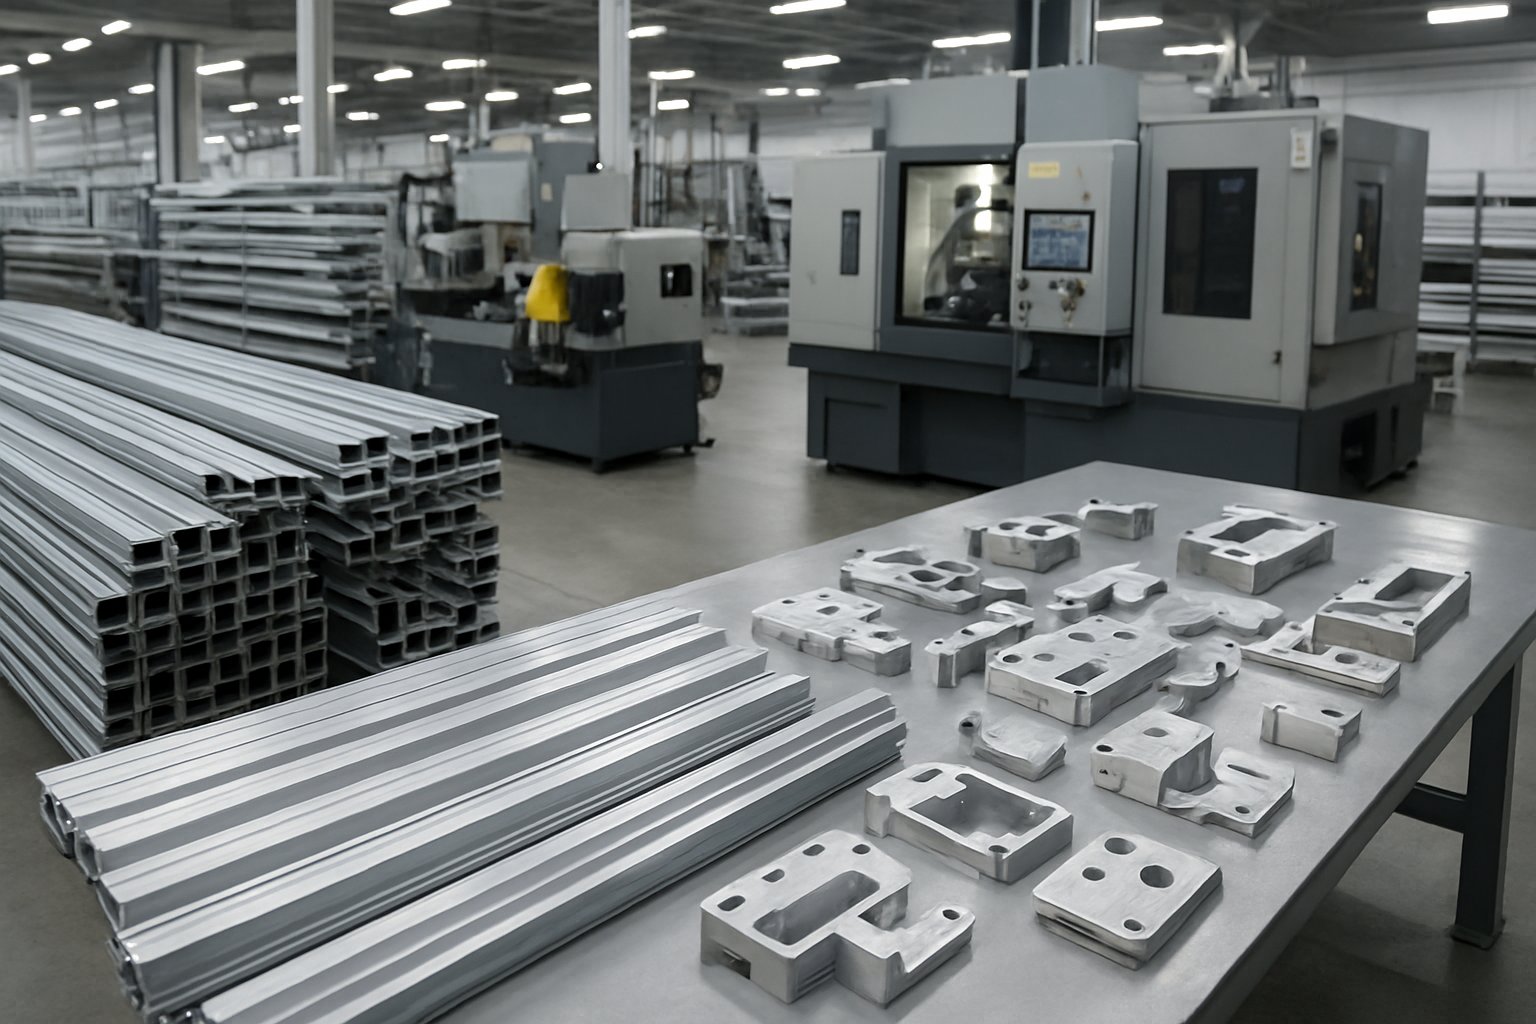
If the job has moved past simple sawing, a supplier with in-house processing can remove a lot of friction. Shengxin Aluminium presents a broad processing range that includes cutting, drilling, bending, CNC machining, anodizing, and powder coating. With over 30 years of experience, 35 extrusion presses, and an in-house route from raw material to finished part, they are a practical example of where a custom cut aluminum extrusion service starts to make more sense than manual shop cutting.
For single pieces, in-house cutting is often enough. For repeatable production, the best way to cut extruded aluminum is often to buy the finished process, not just the raw stock.
Yes, if the saw is suitable for non-ferrous cutting, the extrusion fits the saw capacity, and you use a blade rated for aluminum. The biggest factors are a square fence, firm clamping, full support on both sides of the cut, and a steady feed. For occasional DIY work, a properly equipped miter-style setup is often one of the easiest ways to make straight, repeatable crosscuts.
Use a blade specifically made for non-ferrous metal, not a general wood blade. In most shop setups, a carbide-tipped blade designed for aluminum gives the cleanest result, especially when the tooth geometry matches the saw and profile. Always check the blade maker's guidance and your saw manual first, because blade size, hook angle, and approved use can vary by machine.
Start by matching the saw and blade to the profile, then focus on setup. Support the extrusion so it stays level, clamp it without crushing thin walls, bring the blade to full speed before contact, and do not force the cut. If problems continue, the fix is usually better blade condition, better workholding, or better support rather than more cleanup after the cut.
It depends on the shape, size, and length of the extrusion and the finish quality you need. Miter saws and cutoff-style saws are often the easiest choice for straight crosscuts on manageable sections, while circular saws can be more practical for long stock. Band saws are often better for rough sizing, and table saw use should be limited to stable profiles and only when the saw manufacturer approves non-ferrous cutting.
Outsourcing makes more sense when you need repeated identical lengths, tighter fit-up, secondary machining, or finishing after cutting. If parts also need drilling, CNC work, anodizing, or powder coating, a supplier can often deliver more consistent results than a manual in-house process. For example, Shengxin Aluminium offers integrated aluminum extrusion processing, including cutting, CNC machining, anodizing, and powder coating, which is useful when a project moves beyond simple shop cuts.


 Інтернет-сервіс
 0086 136 3563 2360
 sales@sxalu.com
 +86 136 3563 2360
 Українська
 English
 français
 Deutsch
 русский
 español
 português
 العربية
 ไทย
ไทย Việt
Việt