Ever wondered, can aluminum be painted to achieve a professional, lasting finish? The answer is a resounding yes—but it’s not as straightforward as painting wood, drywall, or other common surfaces. If you’ve tried painting aluminum before and noticed peeling or flaking, you’re not alone. That’s because aluminum, unlike many materials, forms a thin, invisible oxide layer the moment it’s exposed to air. This natural oxidation is great for corrosion resistance, but it also makes painting aluminum surfaces uniquely challenging.
Sounds complex? Imagine painting a surface that’s constantly defending itself against anything trying to stick—including your paint. That’s aluminum for you! The oxide layer acts as a barrier, making the metal non-porous and slick. Without the right preparation, even the best paint will struggle to adhere, leading to disappointment and wasted effort.
But don’t worry—this guide is here to demystify the process and set you up for success. Here’s what you’ll discover:
By the end of this comprehensive DIY guide, you’ll understand not just if aluminum can be painted, but how to do it right—saving you time, money, and frustration.
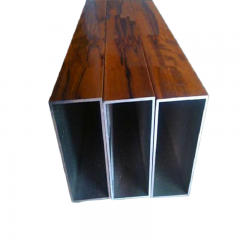
For those seeking a truly seamless finish without the prep work, consider an alternative: factory-applied coatings on structural aluminum. Discover how pre-finished square tubing eliminates adhesion challenges while offering unmatched durability in our guide:
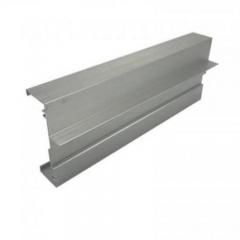
Pre-Powder Coated Aluminum Square Tubing: Sizes, Costs & Applications.
Ready to transform your next project? Let’s dive in!
Ever notice how some paint jobs on aluminum look flawless at first, but soon start bubbling, flaking, or peeling away? If you’ve ever wondered why paint peels on aluminum, the answer lies in the metal’s unique chemistry—specifically, the aluminum oxide layer that forms the moment bare aluminum meets air.
When you expose fresh aluminum to oxygen, it doesn’t just sit there. It instantly reacts, creating a microscopic film called aluminum oxide. This layer is only a few nanometers thick, but it’s incredibly tough and non-porous. Here’s why that matters:
So, when you try painting aluminum without special prep, you’re really painting over this stubborn, slick oxide film—not the metal itself.
Unlike wood or drywall, aluminum doesn’t absorb paint. Instead, the paint sits on top of the oxide layer, making it vulnerable to peeling and flaking. Here are the most common reasons paint fails on aluminum surfaces:
Imagine spending hours on a paint job, only to watch it fail within months. Here’s what typically goes wrong when the surface isn’t properly prepared:
To sum up, the aluminum oxide layer is both friend and foe: it protects the metal but resists paint. That’s why a thorough prep—removing contaminants, scuff sanding, and using the right primer—is absolutely essential for a paint job that lasts. Next, we’ll show you exactly how to clean and prime aluminum so your finish stays smooth and strong for years to come.
Ever started a paint project only to watch the finish peel away within months? If you’re painting aluminum, skipping the right prep steps is the fastest way to disappointment. Cleaning aluminum before painting and using a self-etching primer for aluminum aren’t just recommendations—they’re non-negotiables for a paint job that stands the test of time. Here’s how to do it right, step by step.
Imagine trying to stick tape to a greasy countertop—it won’t last long. The same goes for paint on aluminum. Dirt, grease, and old oxidation are paint’s worst enemies. Here’s how to start:
Tip: Any contaminants left behind—even invisible ones—can cause bubbling or “fisheyes” in your paint. Take your time with this step for the best results.
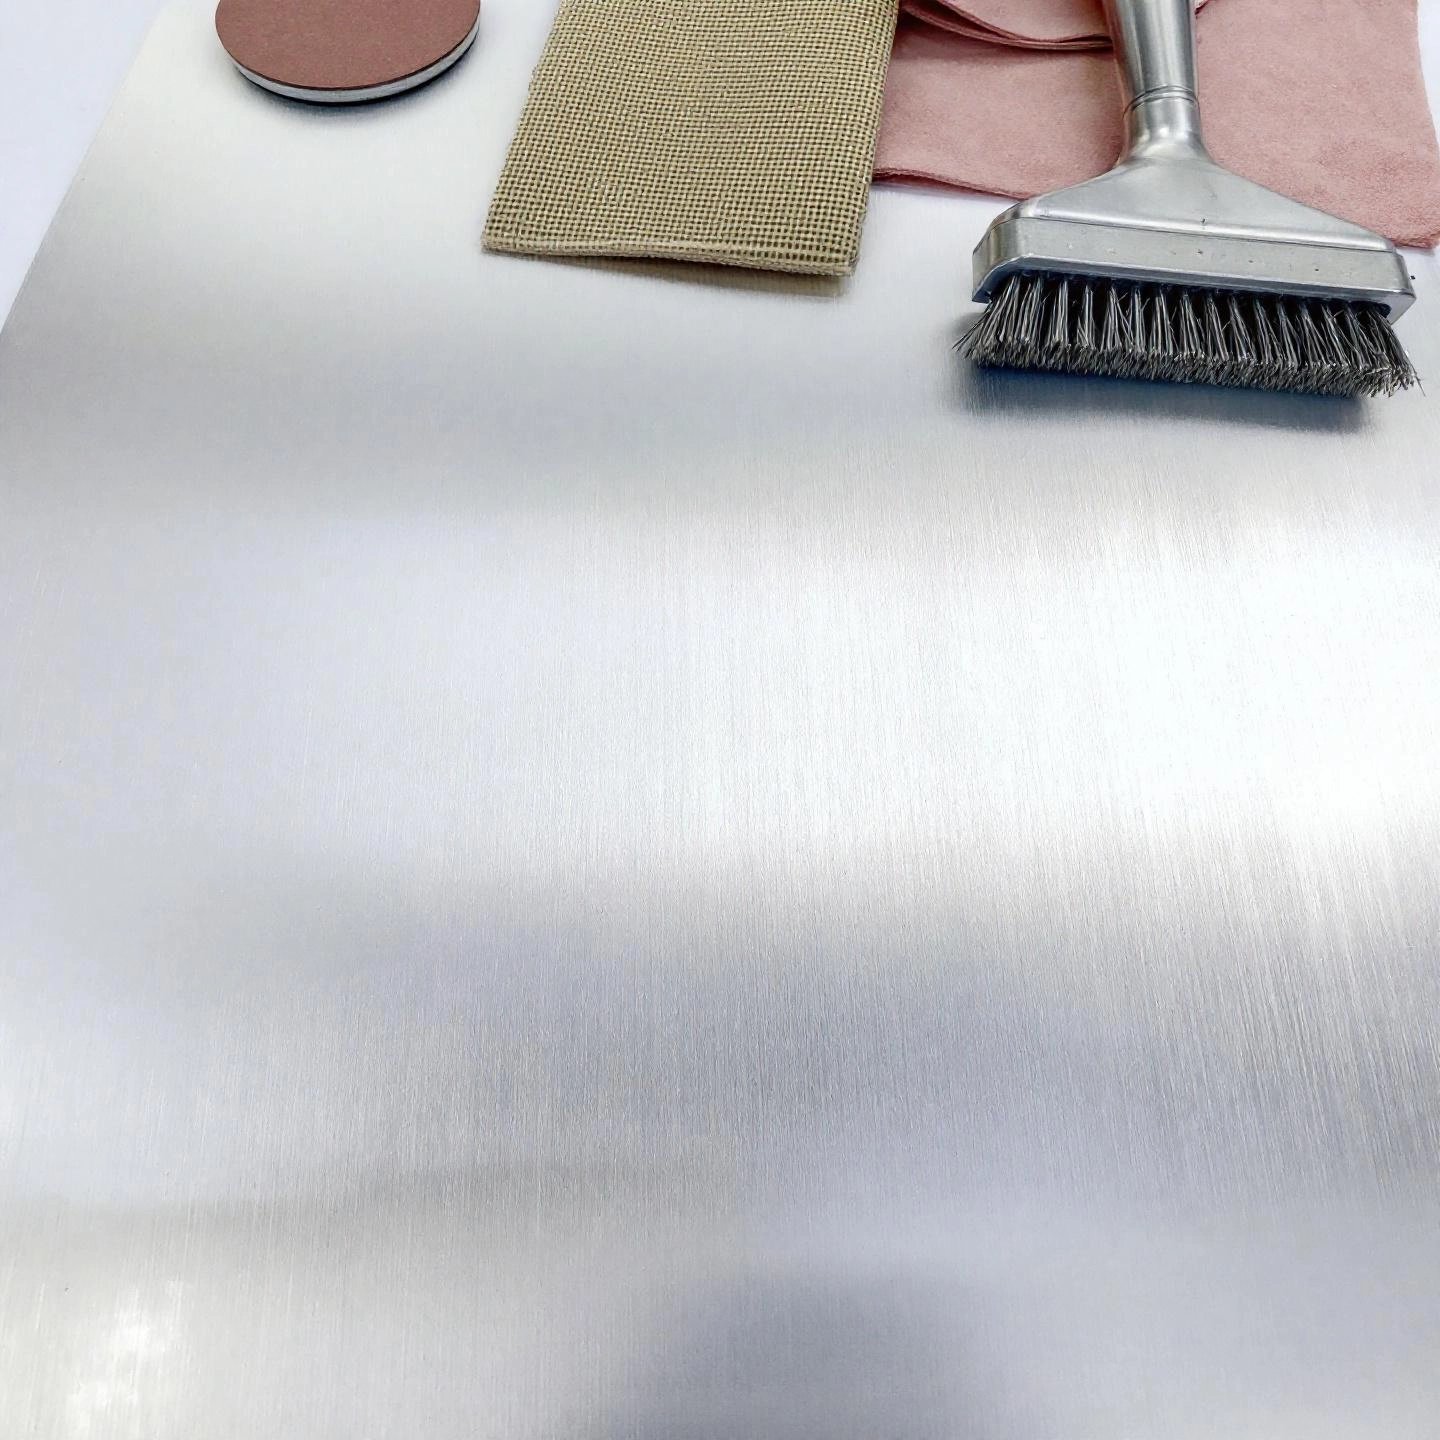
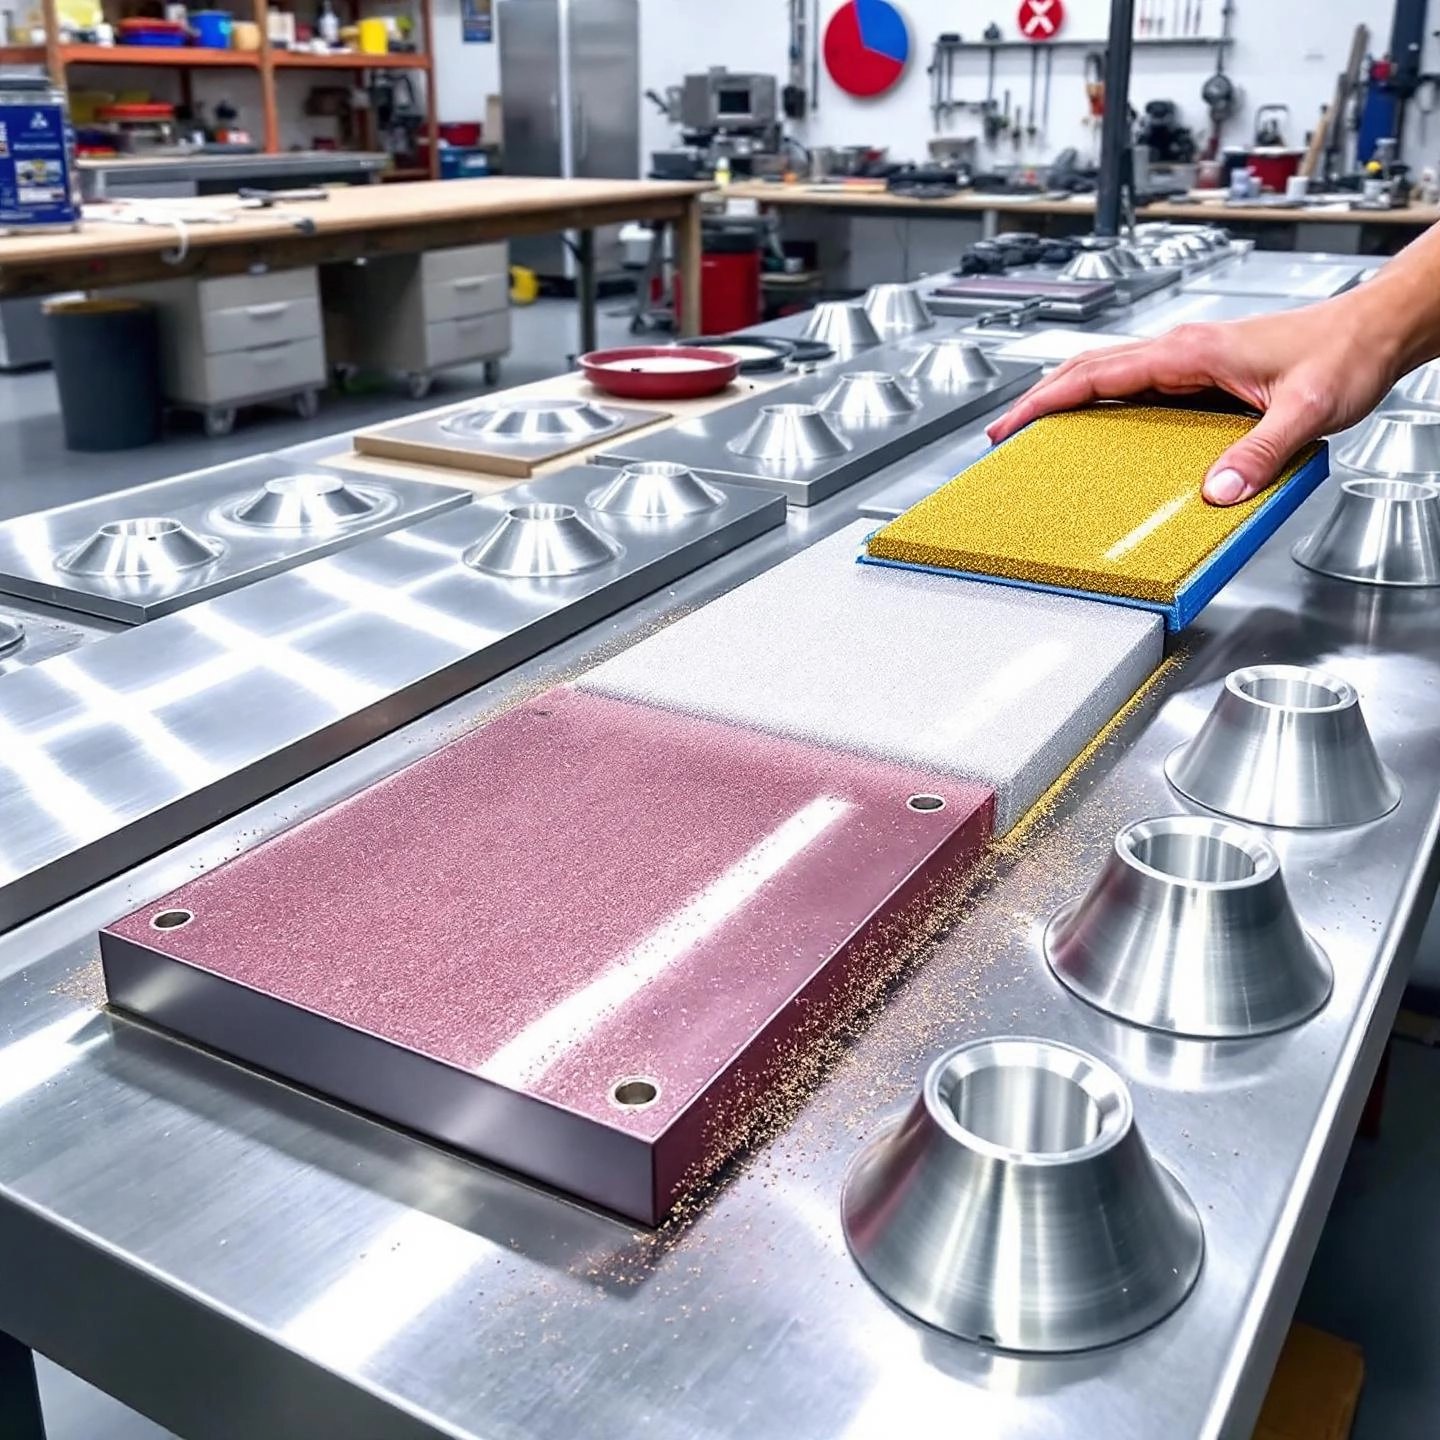
Aluminum’s surface is naturally slick—paint needs something to grab. Scuff sanding creates tiny grooves so primer and paint can lock on tight:
Safety tip: Wear a dust mask and safety glasses when sanding to protect yourself from aluminum dust.
This is where the magic happens. Ordinary primers won’t cut it—aluminum’s oxide layer reforms instantly, so you need a primer that chemically bonds with the metal:
Pro tip: If you’re spot-priming areas where old paint has been sanded away, only use self-etching primer on the bare metal. For intact, well-adhered old paint, a bonding or epoxy primer may be more appropriate.
“Without proper cleaning, sanding, and a self-etching primer, even the best paint can peel like a sticker off glass. Take your time with prep, and your finish will last for years.”
With your aluminum surface now clean, sanded, and primed, you’re ready to paint with confidence. Next, we’ll apply these principles to specific projects—starting with aluminum siding—so you can tackle larger surfaces like a pro.

Ever look at faded, chalky siding and wonder, can aluminum siding be painted to look new again? Absolutely! Painting aluminum siding is not only possible—it’s one of the best ways to revive your home’s curb appeal and extend the life of your exterior. But before you grab a paintbrush, it’s important to understand that painting aluminum siding requires a bit more care and know-how than painting wood or vinyl. Let’s walk through the process, from initial inspection to choosing the best paint for aluminum siding, and help you get results that last for years.
Start by walking around your home and taking a close look at your siding. You’ll want to check for:
Imagine skipping this step: you might spend hours painting, only to see your hard work peel away in months. Careful prep now means less maintenance later.
Aluminum siding collects dirt, mildew, and that stubborn chalky oxidation. Here’s how to clean it effectively:
Tip: Cleaning isn’t just about looks; it’s about creating a surface the paint can grip. Skipping this step is the #1 reason paint fails on aluminum siding.
Once clean and dry, inspect for bare metal. Any exposed aluminum should be spot-primed with a high-quality, oil-based or self-etching metal primer. Even if your siding looks good, a full coat of primer helps even out color, blocks stains, and ensures maximum adhesion—especially on older or previously oxidized surfaces (source).
When it comes to applying the best paint for aluminum siding (100% acrylic latex exterior paint is widely recommended), your choice of tools can impact both the finish and the time required. Here’s a quick comparison:
| Method | Pros | Cons |
|---|---|---|
| Paint Sprayer |
|
|
| Roller/Brush |
|
|
Pro tip: Many professionals use a sprayer for speed, then immediately “back roll” with a roller for even coverage and better adhesion.
Apply at least two coats of paint, allowing each to dry fully. This boosts both appearance and durability. Once finished, keep your siding clean and touch up any chips promptly to maintain that fresh look for years.
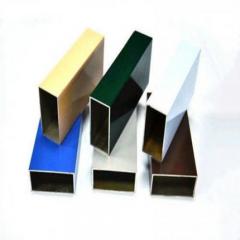
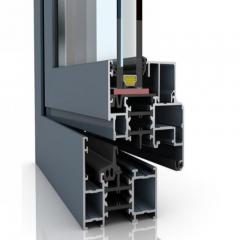
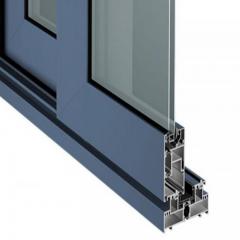
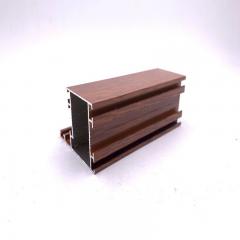
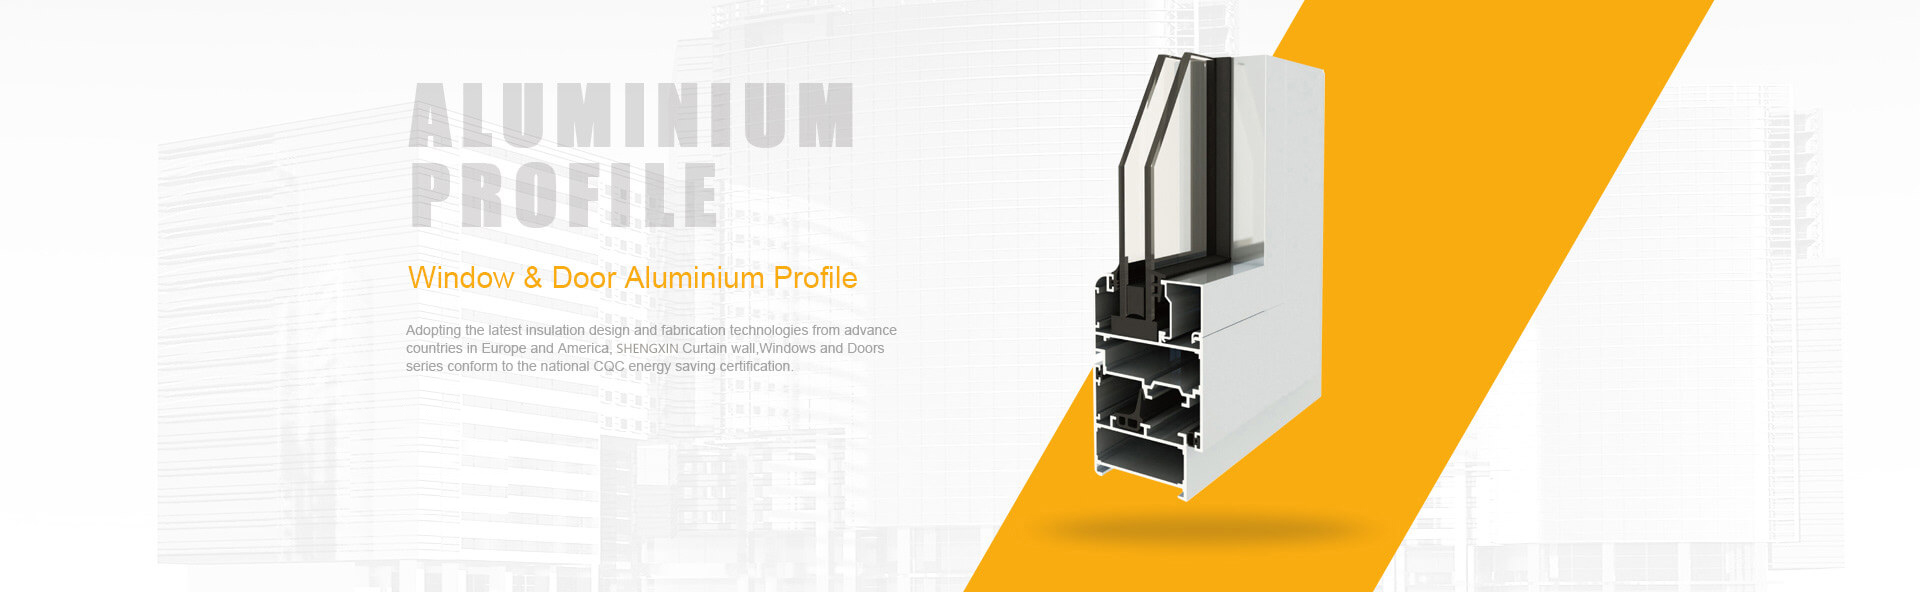
If you’re planning new construction or a major renovation, consider starting with high-grade, pre-finished aluminum profiles. Manufacturers like Shengxin Aluminum offer factory-applied finishes that are more durable, color-consistent, and maintenance-free than anything you can achieve on-site. Pre-painted aluminum is processed under controlled conditions for optimal adhesion and longevity, making it a smart investment for lasting curb appeal and lower upkeep costs. For large-scale projects or when you want the best possible results with minimal maintenance, pre-finished options are hard to beat.
Ready to tackle gutters, trim, or more detailed aluminum features? Next, we’ll show you how to paint those smaller, intricate areas for a seamless, professional look across your entire exterior.
Ever wondered how a fresh coat of paint could transform tired aluminum gutters, window frames, or exterior trim? These smaller, intricate features might seem challenging, but with the right approach, you can achieve a professional, unified finish that elevates your home's curb appeal. Let’s break down the process for painting aluminum trim and painting aluminum gutters so you can tackle these details with confidence.
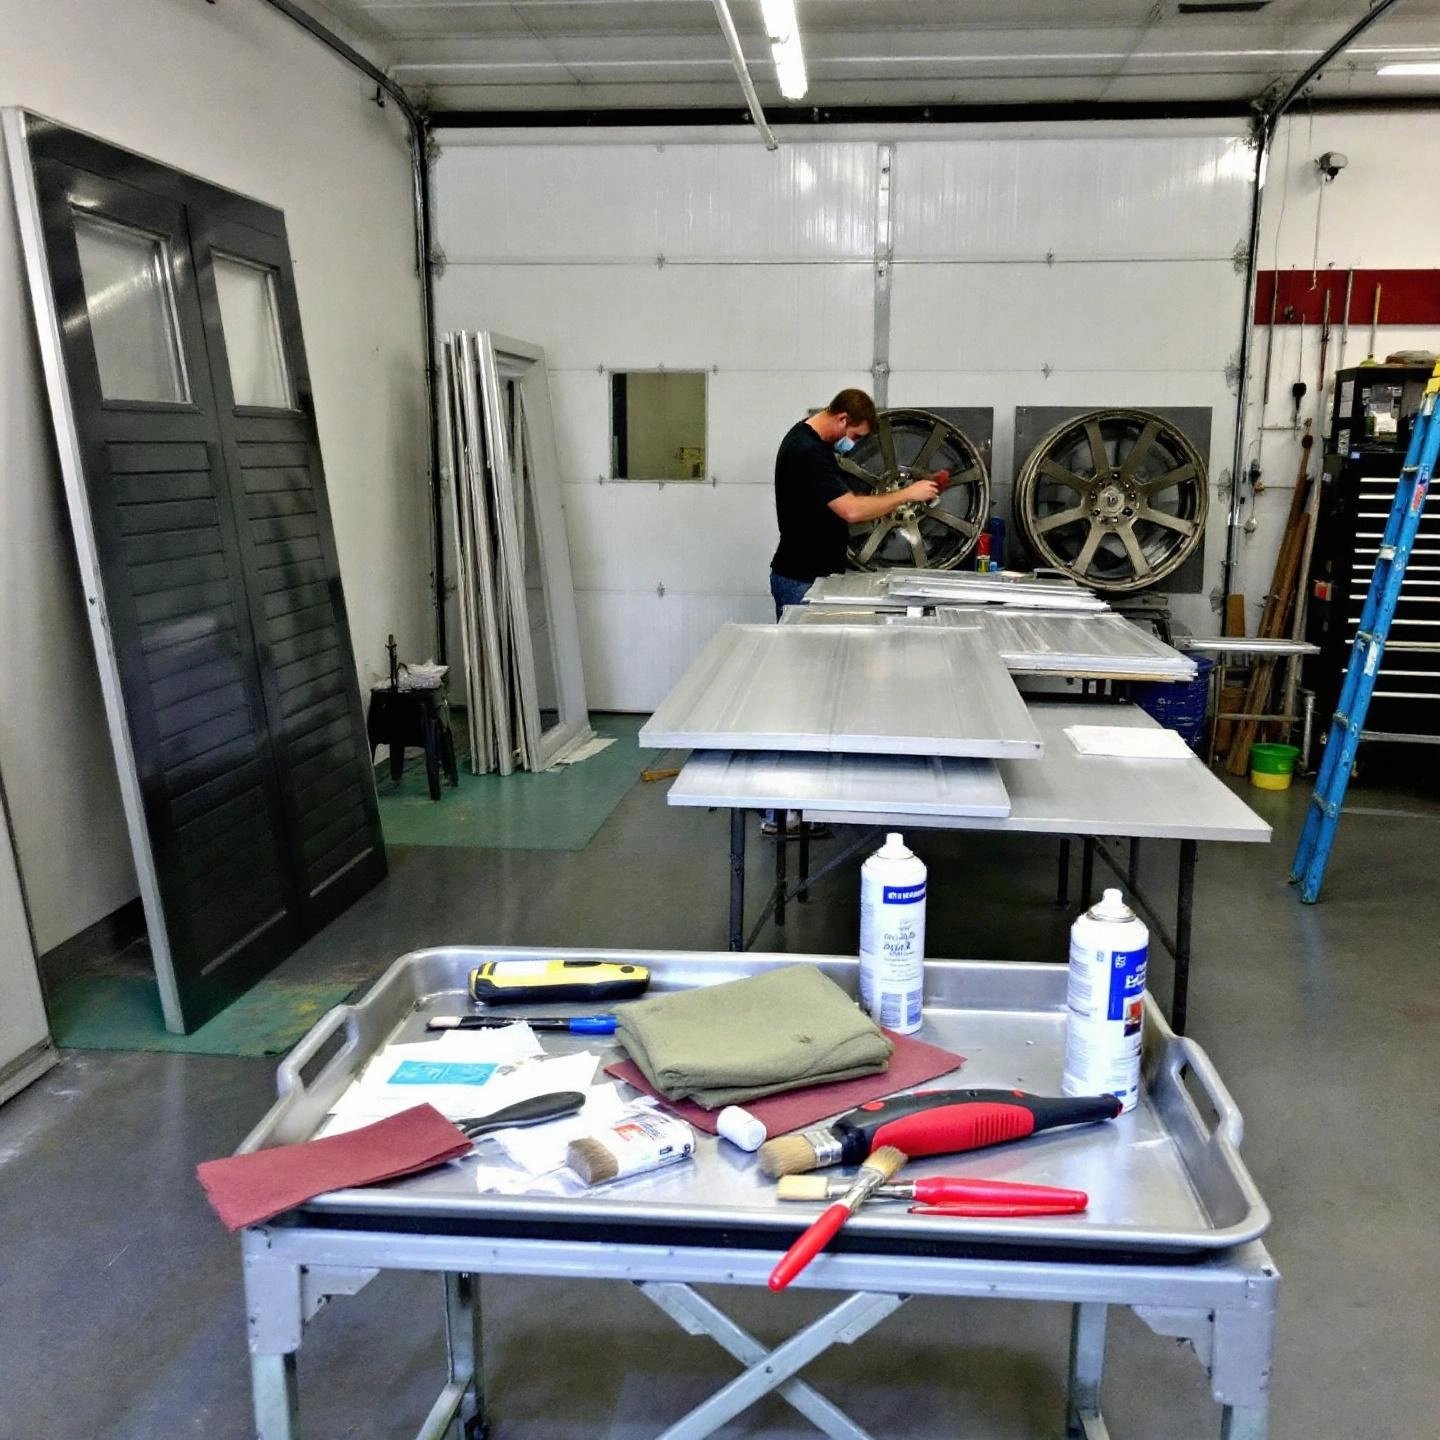
When you look closely at gutters or window frames, you'll notice they often collect more grime, oxidation, and spiderwebs than larger surfaces. Proper prep is non-negotiable for these features:
Ever ended up with paint splatters on glass or siding? Masking is your best friend when painting aluminum trim and gutters, especially if they’re still attached to your home. Here’s how to do it right:
Painting gutters, railings, and trim means dealing with curves, corners, and hard-to-reach spots. Here’s how to get even coverage:
For the most polished look, aim for consistency in color and sheen across all your exterior aluminum features. This means using the same paint type and finish for gutters, window frames, and trim. Not only does this create visual harmony, but it also makes touch-ups easier down the road.
By following these steps, you’ll achieve a professional finish on even the most intricate aluminum details. Next, we’ll show you how to transform larger items—like patio furniture—so your entire outdoor space feels fresh and coordinated.
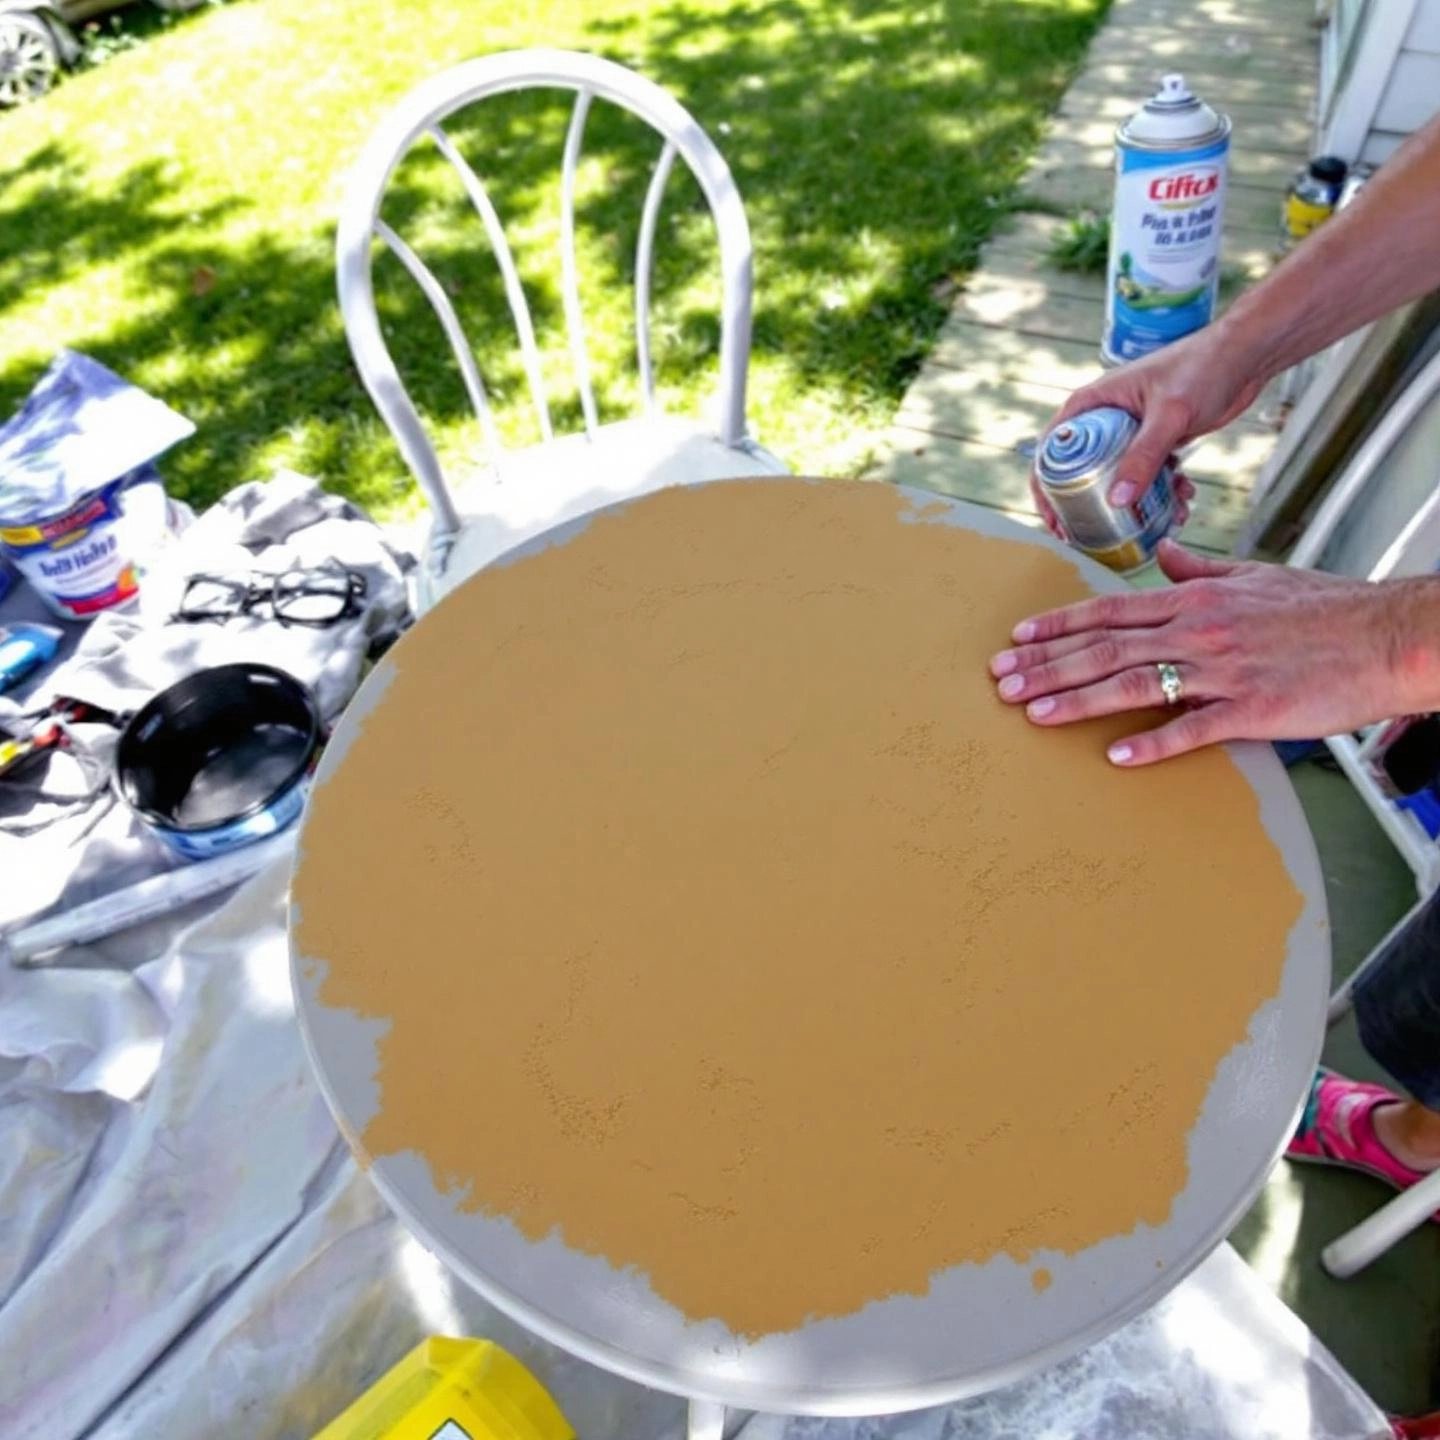
When your once-stylish aluminum patio set starts to look worn and faded, you might wonder: can painting aluminum patio furniture really bring it back to life? Absolutely! With a little prep and the right products, you’ll be amazed at the transformation—and how durable the results can be, even in tough outdoor conditions. Let’s break down the process into clear, actionable steps so you can achieve a professional, lasting finish.
By following these steps, painting aluminum patio furniture becomes a rewarding DIY project that not only revives your outdoor space but also extends the life of your investment. Next, let’s see how these principles apply to even more demanding projects—like painting aluminum wheels for your car.
Ever looked at your car’s wheels and wondered, can aluminum wheels be painted for a sleek, custom look—maybe even a bold black finish? The answer is yes, and with the right prep and products, you can achieve a result that stands up to the rigors of the road. But painting wheels is no ordinary project: they face brake dust, heat, gravel, and constant motion. That means every step, from cleaning to topcoat, is crucial for a finish that not only looks great but lasts.
Imagine spending hours painting your wheels, only to see the paint bubble or peel after a few months. That’s a common fate when shortcuts are taken—especially with aluminum. Wheels are exposed to high heat, abrasive debris, and harsh chemicals, so proper prep is the foundation of success.
Wheels have intricate shapes and moving parts. To avoid overspray and ensure crisp lines:
Not all paints are up to the task. For wheels, durability and heat resistance are essential. Here are your best options:
Thinking of a dramatic change? Can aluminum wheels be painted black? Absolutely. Black is a top choice for a modern, aggressive look—and most wheel paints come in various black finishes, from matte to gloss.
Painting your aluminum wheels is a satisfying project that can dramatically upgrade your vehicle’s appearance—especially if you’re after that popular blacked-out style. With careful prep, the right products, and a patient approach, your wheels will not only turn heads but stand up to whatever the road throws their way. Next, we’ll explore how to tackle the unique challenge of painting anodized aluminum for even tougher surfaces.
Ever picked up an anodized aluminum part—maybe a window frame or sign—and wondered, can anodized aluminum be painted just like regular aluminum? If you’ve tried and found the paint peeling or flaking off, you’re not alone. Painting anodized aluminum is trickier than painting bare metal, but with the right preparation, you can achieve a durable, attractive finish. Let’s break down why this process is unique and how to get it right the first time.
First, it helps to understand what anodizing is. Anodizing is an electrochemical process that thickens and hardens the natural oxide layer on aluminum, making it more resistant to corrosion and wear. This layer is porous at the microscopic level, but it’s also extremely tough and chemically stable. Here’s what that means for your paint job:
Imagine trying to paint a surface that’s designed to repel damage—that’s the challenge you face with painting anodized aluminum.
To overcome these hurdles, meticulous surface prep is non-negotiable. Here’s how to set yourself up for success:
Tip: Don’t over-sand—removing too much of the anodized layer can reduce corrosion resistance. Aim for a uniform, dull finish without exposing bare metal.
Standard primers just won’t cut it. To ensure lasting adhesion, you need a specialty primer that’s formulated for hard, non-porous surfaces:
Apply the primer in thin, even coats, and let it dry fully according to the manufacturer’s instructions. This foundation is critical—skipping or rushing this step is a recipe for peeling or flaking paint.
Once primed, you can apply your chosen paint—oil-based, acrylic, or even powder coatings are all options, depending on the environment and desired finish. For outdoor or high-wear items, consider applying a clear sealant after the paint cures to boost UV and abrasion resistance.
Pro tip: If your project involves highly decorative or functional anodized parts, repainting is usually more cost-effective than replacement—as long as the underlying structure is sound.
With careful prep and the right materials, painting anodized aluminum can deliver a finish that’s as tough as it is beautiful. Next, let’s compare paint types and see which formulas offer the best results for your aluminum project.
When it comes to painting aluminum, the type of paint you choose can make all the difference in how long your finish lasts—and how good it looks along the way. Ever stood in the paint aisle, overwhelmed by choices, and wondered: Which is really the best paint for aluminum? Or maybe you’ve heard about direct to metal paint for aluminum and want to know if it’s worth the investment. Let’s break it down so you can pick the perfect paint for your project and avoid costly do-overs.
Aluminum’s slick, non-porous surface means not every paint will stick or last. The ideal paint should:
Sounds complex? Let’s make it simple with a side-by-side comparison.
| Paint Type | Best Uses | Pros | Cons |
|---|---|---|---|
| Acrylic Latex | Exterior siding, trim, patio furniture, gutters |
|
|
| Oil-Based Enamel | Doors, window frames, gutters, outdoor furniture |
|
|
| Direct-to-Metal (DTM) | Industrial settings, railings, fences, large panels |
|
|
| Epoxy | Wheels, garage doors, marine/industrial parts |
|
|
As you can see, the best paint for aluminum depends on your project’s needs. For most exterior home projects, high-quality acrylic latex is a top choice for its flexibility and ease of use. For high-traffic or industrial items, epoxy or direct-to-metal paints deliver the ultimate in durability and protection.
Imagine never having to repaint again. That’s the advantage of factory-applied finishes—also known as coil or pre-painted aluminum. These coatings are applied in a controlled environment, ensuring maximum adhesion, color consistency, and resistance to fading or peeling. Companies like Shengxin Aluminum use advanced processes to deliver flawless finishes that outperform anything you can achieve with a brush or roller. For large-scale projects, commercial applications, or when you want a maintenance-free solution, pre-finished aluminum is the gold standard.
In summary, the right paint—and the right process—will reward you with a finish that looks sharp and stands the test of time. Whether you opt for a DIY approach or invest in factory-finished aluminum, you’re now equipped to make the best choice for your next project. Up next: let’s recap the essential steps and tips to ensure your aluminum paint job is truly professional, from prep to final coat.
Ever thought painting aluminum was out of reach for DIYers or too tricky to get right? As you’ve seen throughout this guide, with the right approach and a few essential aluminum painting tips, anyone can achieve a finish that looks great and stands up to the elements. Let’s recap the must-know steps and insider advice that set successful projects apart—whether you’re a first-timer or a seasoned pro.
Painting aluminum for beginners might seem daunting at first, but remember: success comes from patience, attention to detail, and using the right materials. Imagine the pride you’ll feel when your siding, trim, wheels, or patio furniture looks fresh and new—knowing you did it yourself, and did it right.
If you’re tackling a small DIY project, these steps will help you achieve professional results. For those planning large-scale renovations or seeking the ultimate in durability and low maintenance, consider the advantages of pre-finished aluminum profiles and factory-applied coatings from trusted manufacturers like Shengxin Aluminum. Their expertise and advanced finishing processes deliver a flawless, long-lasting appearance that’s hard to match with field-applied paint—especially for demanding architectural or industrial applications.
Ready to transform your next project? With these aluminum painting tips and a commitment to thorough prep, you’re well on your way to a finish that truly lasts. Happy painting!
Painting aluminum is an effective way to refresh and protect surfaces like siding, trim, furniture, and wheels. While aluminum naturally resists corrosion thanks to its oxide layer, painting provides aesthetic improvements and additional protection, especially for outdoor or high-wear areas. With proper surface preparation, cleaning, sanding, and priming, paint will adhere well and last for years.
Rust-Oleum and other high-quality metal paints can adhere to aluminum if the surface is properly prepared. Start by cleaning and scuff sanding the aluminum, then apply a self-etching or bonding primer before using Rust-Oleum paint. This process creates a strong bond and ensures good coverage and durability, even on challenging surfaces like aluminum trim or wheels.
Priming aluminum before painting is essential for a long-lasting finish. The oxide layer on aluminum makes it difficult for paint to stick, so using a self-etching or metal-specific primer ensures proper adhesion. Skipping primer can lead to peeling, flaking, or bubbling, especially on exterior or high-traffic items.
The best paint for aluminum depends on the project. Acrylic latex is ideal for siding and trim due to its flexibility and weather resistance. Oil-based enamel offers a glossy, durable finish for doors, furniture, or gutters. For wheels or industrial uses, epoxy or direct-to-metal (DTM) paints provide maximum durability. Always pair the paint with a compatible primer for optimal results.
Yes, anodized aluminum can be painted, but it requires extra preparation. The anodized layer is hard and non-porous, so aggressive sanding and a specialized epoxy or bonding primer are necessary. With thorough cleaning and the right primer, you can achieve a durable, attractive finish on anodized aluminum parts.


 Інтернет-сервіс
 0086 136 3563 2360
 sales@sxalu.com
 +86 136 3563 2360
 Українська
 English
 français
 Deutsch
 русский
 español
 português
 العربية
 ไทย
ไทย Việt
Việt