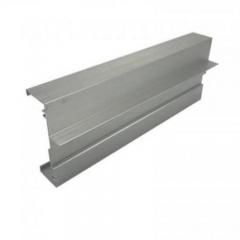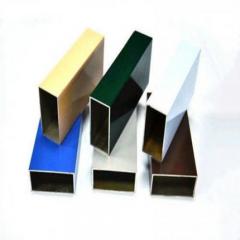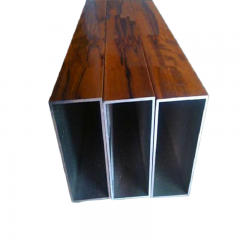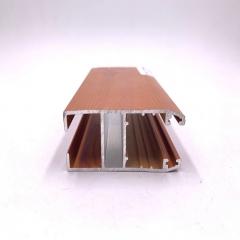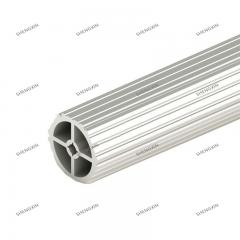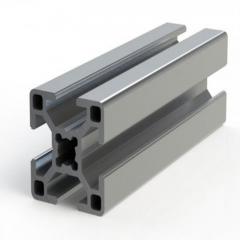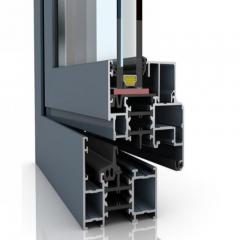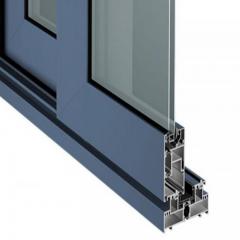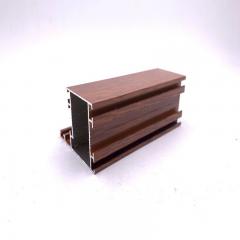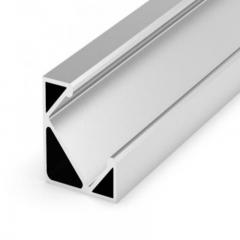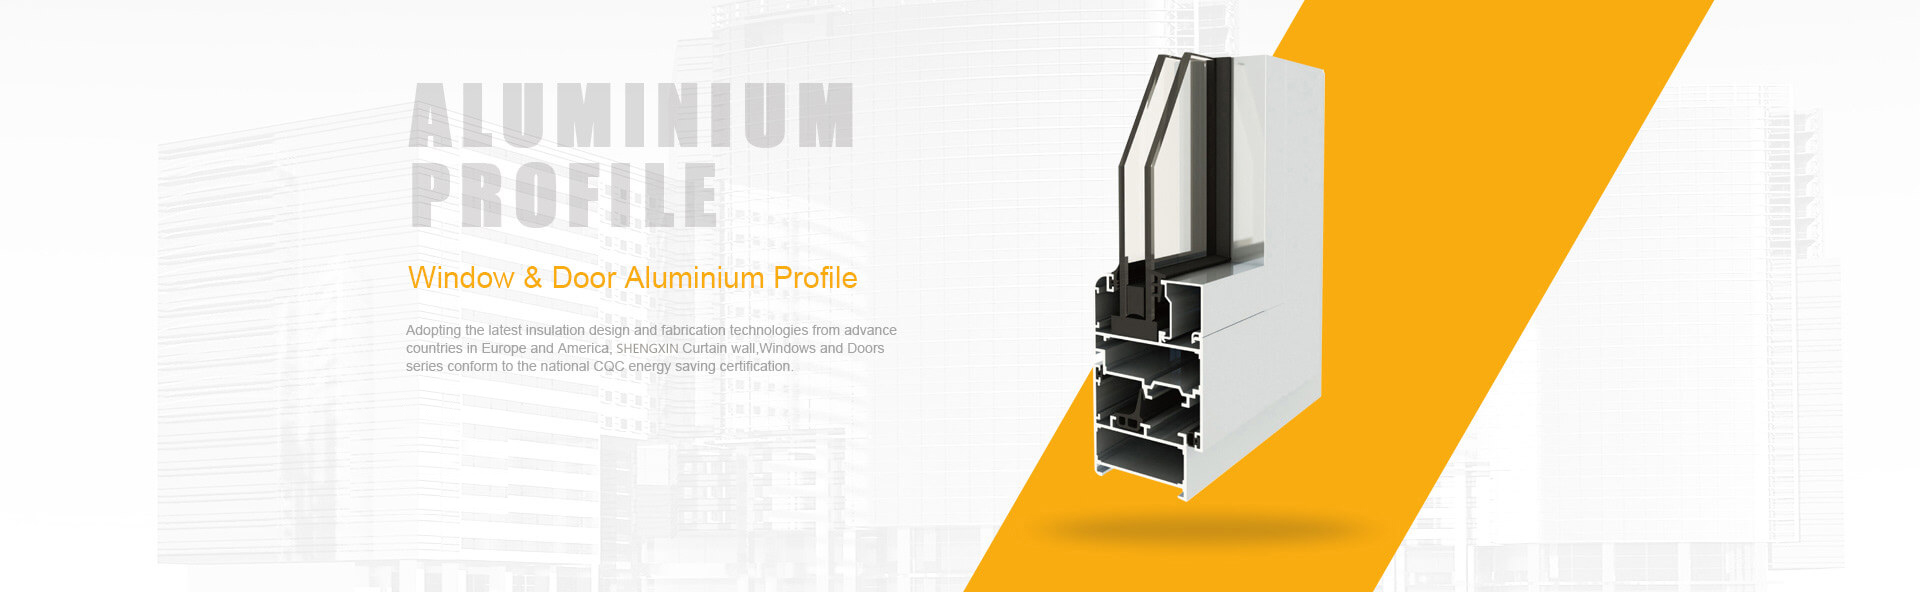
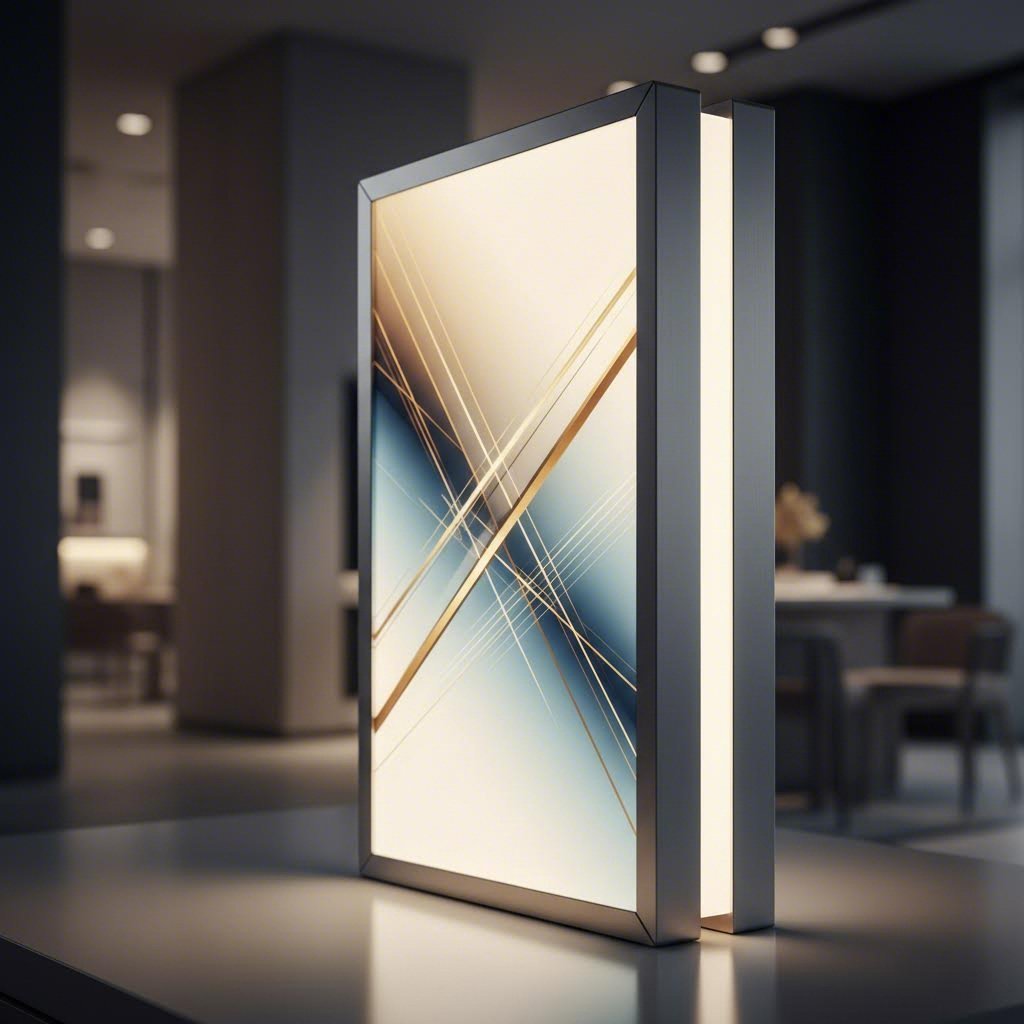
Ever wondered what gives those sleek, illuminated retail displays their clean lines and brilliant glow? The answer lies in aluminum lightbox extrusion, a specialized manufacturing process that creates the structural backbone for modern signage and display systems. Whether you're walking through a shopping mall, attending a trade show, or passing through an airport terminal, you're surrounded by these illuminated frames that combine functionality with visual appeal.
Simply put, aluminum lightbox extrusion refers to precision-engineered aluminum profiles specifically designed to house LED lighting systems and display graphics. These extruded profiles form the structural framework that holds everything together, from the light source to the printed visual. Understanding how these components work together empowers you to make smarter purchasing decisions for your next display project.
When you compare materials for illuminated display frames, aluminum stands out for several compelling reasons. First, it's remarkably lightweight. Aluminum has a density of approximately 2.71 g/cm³, making it about one-third the weight of steel. This means easier installation, reduced shipping costs, and less stress on mounting surfaces.
But light weight doesn't mean weak. LED aluminum extrusions offer impressive structural rigidity when properly designed. You'll find that quality profiles maintain their shape and integrity even in demanding commercial environments.
Here's another advantage you'll appreciate: aluminum naturally resists corrosion. When exposed to air, it forms a thin protective oxide layer that prevents rust and degradation. This makes these frames perfect for both indoor and outdoor applications, requiring minimal maintenance over their lifespan. Unlike steel alternatives that need protective coatings to survive humid or coastal environments, aluminum performs reliably without extra treatments.
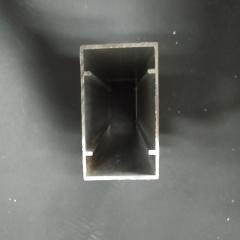
Imagine pushing soft clay through a shaped opening to create a consistent form. That's essentially how extrusion technology works, but with solid aluminum heated to a malleable state. During manufacturing, aluminum billets are heated and forced through precision-engineered dies under tremendous pressure. The result? Perfectly consistent cross-sectional shapes that run the entire length of each profile.
This process allows light boxes manufacturers to create complex geometries that would be impossible with other fabrication methods. Channels for LED strips, grooves for graphic tensioning systems, and precise mounting features can all be incorporated into a single extruded profile. The consistency you get from extrusion ensures seamless connections at corners and joints, which is critical for achieving that polished, professional appearance.
Before you start shopping for your next display system, take time to understand what components you'll need. A typical aluminum lightbox system includes:
Each component plays a crucial role in the final result. When these elements work together properly, you get uniform brightness, crisp graphics, and a display that looks professional from every viewing angle. Armed with this foundational knowledge, you're now ready to dive deeper into the technical specifications that separate average displays from exceptional ones.
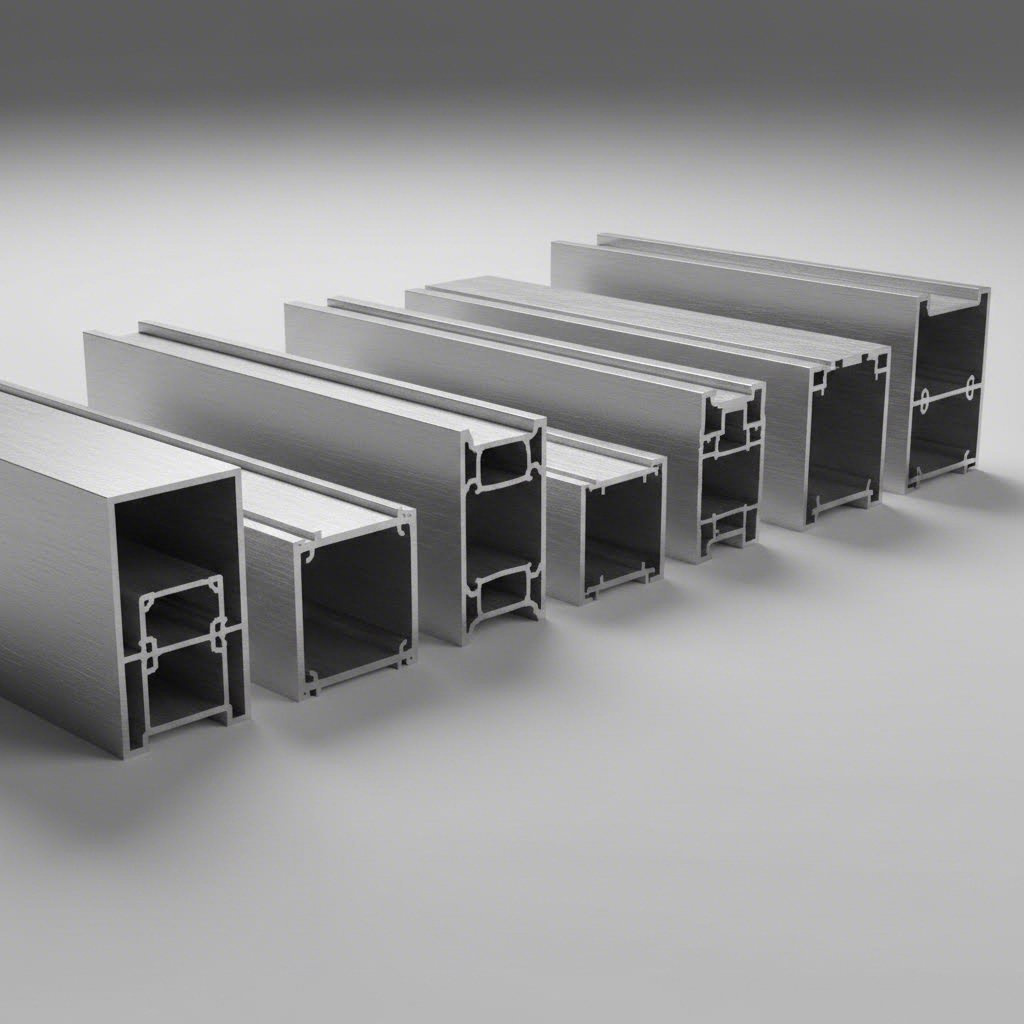
Ready to get into the technical details that truly matter? Understanding material grades and dimensional specifications separates informed buyers from those who end up with underperforming displays. This section covers the engineering fundamentals you won't find in most product catalogs, giving you the knowledge to evaluate aluminum sign extrusions with confidence.
Not all aluminum is created equal. When shopping for lightbox frames, you'll encounter two primary alloy designations: 6063-T5 and 6061-T6. Each serves different purposes, and choosing the right one affects your display's performance, appearance, and longevity.
6063-T5 Aluminum is often called "architectural aluminum" for good reason. This alloy delivers exceptional surface quality after anodizing, making it the preferred choice for visible sign extrusions where aesthetics matter. According to Industrial Metal Supply, 6063 aluminum offers better corrosion resistance than 6061 and weathers outdoor conditions more effectively. It also features higher thermal conductivity and a higher melting temperature, which helps with heat dissipation from LED modules.
You'll find 6063-T5 in most retail display frames, window signage systems, and architectural applications where the frame remains visible. The T5 temper designation indicates the material was artificially aged after extrusion, providing a balanced combination of strength and workability.
6061-T6 Aluminum steps up when structural demands increase. This "structural aluminum" alloy delivers higher yield strength and fatigue resistance compared to 6063. If you're building large-format displays, freestanding lightbox installations, or frames that must support significant weight, 6061-T6 provides the mechanical backbone you need.
The trade-off? Surface finish quality. As noted in industry comparisons, 6061 doesn't achieve the same aesthetic finish as 6063 after anodizing. For applications where the frame hides behind graphics or trim, this rarely matters. But for exposed LED extruded aluminum profiles in premium environments, 6063 remains the go-to choice.
Profile depth directly impacts light distribution, LED requirements, and overall display performance. Selecting the wrong depth creates problems ranging from visible hot spots to wasted energy. The following table provides guidance for matching profile depth to your specific application:
| Profile Depth | Recommended Applications | LED Spacing | Maximum Lightbox Size | Typical Wall Thickness |
|---|---|---|---|---|
| 60mm | Small retail displays, menu boards, countertop units | 30-40mm between LEDs | Up to 600mm x 800mm | 1.2-1.5mm |
| 80mm | Standard retail signage, trade show graphics, wall-mounted displays | 40-50mm between LEDs | Up to 1200mm x 1500mm | 1.5-1.8mm |
| 100mm | Large format displays, backlit walls, transit advertising | 50-60mm between LEDs | Up to 2000mm x 2500mm | 1.8-2.0mm |
| 120mm | Architectural installations, building facade signage, extra-large displays | 60-80mm between LEDs | Up to 3000mm x 4000mm or larger with reinforcement | 2.0-2.5mm |
Wall thickness deserves special attention. Thinner walls reduce weight and material costs but sacrifice structural rigidity. For aluminum sign extrusions supporting heavy diffuser panels or spanning wide unsupported distances, aim for the higher end of the thickness range. The minimum recommended wall thickness for quality lightbox profiles is 0.8mm, though most commercial applications perform better with 1.5mm or greater.
Weight capacity ties directly to these specifications. A 60mm profile with 1.2mm walls might support 5-8 kg per linear meter, while a 120mm profile with 2.5mm walls can handle 15-20 kg per linear meter. Always verify load ratings with your supplier, especially for ceiling-mounted or cantilevered installations.
Here's where many buyers overlook critical details: manufacturing tolerances. When four profiles meet at corners, even small dimensional variations become visible gaps or misaligned joints. Quality led extruded aluminum profiles maintain tight tolerances that ensure seamless assembly.
Industry standards like ANSI H35.2-2024 establish dimensional tolerance specifications for aluminum mill products, covering thickness, width, length, and cross-sectional accuracy. European manufacturers follow EN 755-9:2001 standards, which specify tolerances for extruded profiles.
What does this mean practically? Quality profiles typically hold thickness tolerances within ±0.1mm and cross-sectional dimensions within ±0.2mm. These tight specifications ensure corner connectors fit precisely, diffuser panels seat flush, and your finished display looks professionally crafted rather than hastily assembled.
When evaluating suppliers, ask about their tolerance capabilities and quality control processes. Reputable manufacturers inspect finished profiles using advanced measuring equipment before shipping. This attention to precision distinguishes professional-grade aluminum lightbox extrusion from budget alternatives that create assembly headaches and compromise final appearance.
Now that you understand the technical specifications, here's where things get interesting. Choosing the right profile type can make or break your display project. You've probably seen terms like SEG, snap frame, and frameless thrown around, but what do they actually mean for your specific application? Let's break down each system so you can match your needs with the right aluminum sign frame kits.
Two profile types dominate the custom lightboxes market: SEG (Silicone Edge Graphics) systems and traditional snap frames. Each serves distinct purposes, and understanding their differences helps you avoid costly mismatches.
SEG systems use tension fabric with a silicone strip sewn into the edges. This strip snaps into a channel within lightweight aluminum SEG frames, creating a seamless, wrinkle-free display surface. The result? A smooth, professional appearance with no visible frame border interrupting your graphics.
What makes SEG particularly attractive is the installation speed. According to industry data, you can have an SEG display up and running in under five minutes with tool-free setup. The fabric simply snaps into the aluminum extrusion grooves, eliminating the need for specialized tools or professional installers.
Snap frames, by contrast, use hinged aluminum profiles that open to accept rigid printed panels or posters. You lift the frame edges, slide in your graphic, and snap everything closed. This design excels when you need frequent content changes with paper or rigid substrates rather than fabric.
Beyond the graphic attachment method, you'll need to decide whether you want a visible frame aesthetic or a frameless look. This choice impacts both visual presentation and practical functionality.
Visible frame designs showcase the aluminum profile as part of the overall aesthetic. These work well when the metallic finish complements your brand or environment. Think of premium retail stores where brushed aluminum frames add sophistication, or industrial settings where the rugged appearance feels appropriate.
Frameless designs hide the structural components behind the graphic surface. The aluminum extrusion still provides the backbone, but clever engineering conceals it from view. When your priority is making the image the sole focus, frameless configurations deliver maximum visual impact.
Consider your environment carefully. A frameless fabric light box creates stunning wall features where graphics appear to float. Meanwhile, visible frames provide design continuity when multiple displays need consistent visual borders throughout a space.
The following table compares all major profile types across the criteria that matter most for purchasing decisions:
| Profile Type | Graphic Change Ease | Visual Aesthetics | Durability | Cost Range | Ideal Applications |
|---|---|---|---|---|---|
| SEG (Silicone Edge Graphics) | Easy, tool-free, under 5 minutes | Seamless, wrinkle-free, edge-to-edge graphics | High, fabric lasts 3-5 years, frame indefinitely reusable | Medium to High | Trade shows, retail displays, backlit walls, corporate lobbies |
| Snap Frame | Very easy, front-loading without removal | Visible frame border, professional appearance | Medium to High, hinge mechanism may wear | Low to Medium | Menu boards, poster displays, frequently updated content |
| Tension Fabric | Moderate, requires stretching over frame | Taut surface, minimal wrinkles when properly installed | High, fabric and frame both long-lasting | Medium | Large format displays, exhibition graphics, retail environments |
| Frameless | Varies by sub-type, typically moderate | Maximum visual impact, graphics appear to float | High, hidden construction protects components | Medium to High | Premium retail, architectural features, gallery installations |
Different environments demand different solutions. Here's how to match profile types to your specific industry context:
Retail Environments: SEG systems dominate here for good reason. The seamless graphics create maximum visual impact for product promotions and brand messaging. Backlit SEG options work especially well in stores with lower ambient lighting, drawing customer attention effectively. For frequently changing promotional content, consider snap frames in secondary locations where speed trumps aesthetics.
Trade Shows: Portability rules at exhibitions. Lightweight SEG frames with tool-free assembly let you set up quickly and pack down efficiently. Request a lightbox sample before committing to large orders, ensuring the system meets your transport and assembly requirements.
Outdoor Installations: Weather resistance becomes critical. Look for profiles with proper sealing capabilities and UV-resistant fabric options. Heavier-gauge aluminum with powder-coated finishes handles environmental exposure better than standard indoor profiles.
Corporate Lobbies: Premium aesthetics justify higher investment. Frameless designs or sleek SEG systems with custom-colored frames create impressive first impressions. These installations typically change less frequently, making durability and visual sophistication the primary selection criteria.
Your installation location determines whether you need single-sided or double-sided lightbox configurations.
Choose single-sided when:
Choose double-sided when:
Double-sided configurations require sturdier profiles and reinforced mounting hardware. For freestanding double-sided lightboxes, ensure the supporting legs are wide and long enough to keep the display stable in high-traffic environments.
With your profile type selected, the next step involves proper assembly techniques. Getting the installation right ensures your display performs as designed and maintains its professional appearance throughout its service life.
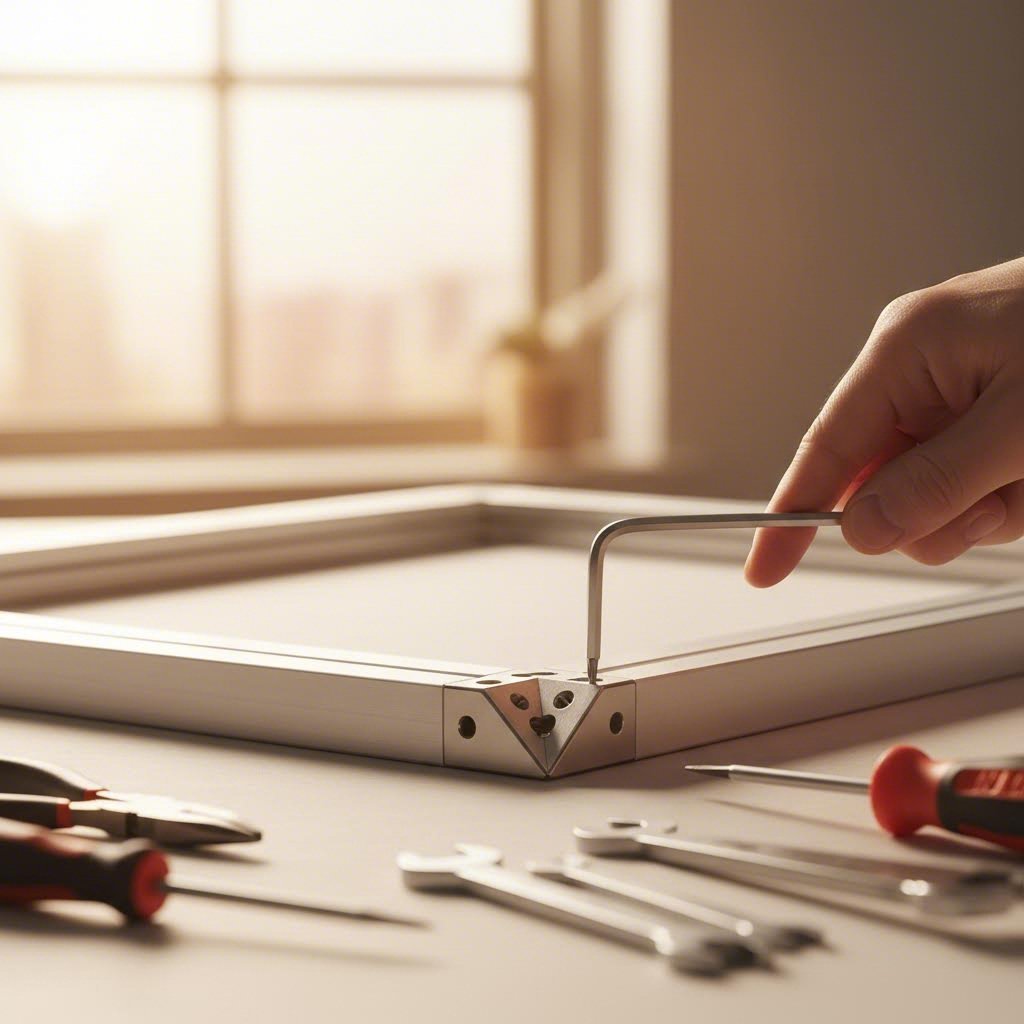
You've selected the perfect profile type for your project. Now comes the moment of truth: putting everything together. Proper assembly separates professional-looking displays from disappointing results with visible gaps, uneven lighting, or sagging graphics. Whether you're working with a reputable light box manufacturer's kit or sourcing components separately, these step-by-step instructions ensure your aluminum lightbox extrusion assembly goes smoothly.
Before touching any tools, take fifteen minutes to set yourself up for success. A cluttered workspace leads to scratched profiles, lost hardware, and frustrating mistakes that cost time and money.
Start by clearing a flat surface larger than your finished lightbox dimensions. Soft padding like moving blankets or foam protects anodized finishes from scratches during assembly. Good lighting helps you spot alignment issues before they become permanent problems.
Next, unpack everything and verify your components against the packing list. Light box suppliers typically include detailed manifests, but mistakes happen. Discovering a missing corner connector halfway through assembly creates unnecessary delays. Check for:
Inspect each aluminum profile for shipping damage. Look for dents, deep scratches, or bent sections that could affect assembly. Reputable manufacturers pack extrusions carefully, but transit damage occasionally occurs. Document any issues immediately for warranty claims.
Corner connections make or break your lightbox's final appearance. Even slight misalignment creates visible gaps that undermine the professional look you're trying to achieve. Follow these steps for perfect corners every time:
A common mistake here involves over-tightening. Excessive force can strip threads in the aluminum or crack corner brackets. Tighten until snug with no movement, then stop. You're securing aluminum, not installing lug nuts.
With your frame assembled, it's time to bring the light. Proper LED installation determines whether your display glows evenly or shows distracting bright spots and dark zones.
First, plan your LED placement. As noted by HitLights, the key is installing light sources as far from the graphic panel as possible. This counterintuitive approach minimizes visible LED spotting by allowing light to diffuse before reaching the display surface. For double-sided lightboxes, mount LEDs in the center of the frame depth. For single-sided units, position them at the back.
Before installing graphics, test your LED system. Power everything on and inspect for dead modules, flickering, or uneven brightness. Fixing LED issues becomes significantly harder once graphics are installed.
The diffuser panel transforms harsh LED points into smooth, even illumination. This translucent layer sits between your light source and the front graphic, softening the light distribution.
Your beautiful lightbox won't impress anyone if it falls off the wall. Selecting appropriate mounting hardware prevents disasters and ensures long-term stability.
| Wall Type | Recommended Hardware | Weight Capacity | Installation Notes |
|---|---|---|---|
| Drywall (hollow) | Toggle bolts or wall anchors | 15-25 kg per anchor point | Distribute load across multiple anchors; avoid single-point mounting |
| Concrete/Masonry | Concrete sleeve anchors or expansion bolts | 50+ kg per anchor point | Pre-drill with masonry bit; use appropriate anchor depth |
| Wood studs | Lag screws or heavy-duty wood screws | 40+ kg per anchor point | Locate studs precisely; avoid drywall-only mounting for heavy units |
| Metal studs | Self-drilling metal screws or toggle bolts | 20-35 kg per anchor point | Verify stud gauge; thinner metal requires more anchor points |
For ceiling-suspended installations, use rated hanging hardware and verify ceiling structure can support the total weight including graphics and LED components. Safety cables provide backup protection in high-traffic areas.
Learning from others' errors saves you frustration and rework. Here are the pitfalls experienced installers know to avoid:
With your lightbox properly assembled and mounted, you might wonder how to optimize the relationship between frame dimensions and light distribution. The next section covers the calculations that ensure your display achieves perfect illumination regardless of size.
Here's something most suppliers won't tell you: the relationship between your lightbox dimensions and profile depth directly determines whether your display looks professionally lit or plagued by hot spots and dark zones. Getting this calculation right from the start saves you from expensive corrections later. Let's walk through the formulas and guidelines that ensure your aluminum lightbox extrusion delivers uniform, eye-catching illumination.
Think of profile depth as the breathing room your LEDs need to spread their light evenly. Too shallow, and individual light sources remain visible through your graphics. Too deep, and you're wasting materials while potentially dimming the overall effect.
The fundamental principle is straightforward: larger displays require deeper profiles. But several factors beyond raw dimensions influence your optimal depth selection:
According to 3M's backlit signage guidelines, light box depth significantly impacts sign face uniformity. Their research indicates that depths between 4 to 6 inches (10 to 15 cm) typically reduce hot spot risk while allowing effective use of higher-lumen LEDs. Shallower boxes of 2 to 4 inches require LED modules with wider beam angles and lower lumen output to prevent visible spotting.
The following table provides an aluminum frame sizing guide matched to common lightbox applications:
| Lightbox Category | Typical Dimensions | Recommended Profile Depth | LED Configuration | Key Considerations |
|---|---|---|---|---|
| Small Retail Displays | Up to 600mm x 800mm | 50-70mm | Low-lumen LEDs with wide beam angles (120°+) | Close viewing distance demands careful LED placement to avoid visible spotting |
| Medium Trade Show Graphics | 800mm x 1200mm to 1500mm x 2000mm | 80-100mm | Standard LED modules with 90-120° beam angles | Portable weight concerns balanced against illumination quality |
| Large Architectural Installations | 2000mm x 3000mm and larger | 100-150mm | High-output LED arrays with multiple rows | Structural support requirements increase; may need internal bracing |
| Ultra-Thin Displays | Any size, depth-constrained locations | 30-50mm | Edge-lit LED strips with light guide panels | Specialized diffusion technology required; higher component costs |
Once you've determined your profile depth, calculating LED spacing becomes the next critical step. The goal? Creating seamless illumination where no single light source dominates.
A reliable starting formula uses this relationship: LED spacing should equal approximately 1 to 1.5 times your profile depth. For a 100mm deep profile, spacing LEDs 100-150mm apart typically produces uniform results. However, this formula assumes standard LED beam angles around 90-120 degrees.
3M's technical documentation confirms that LED pitch and beam angle work together to determine uniformity. As illustrated in their research, narrower pitch creates more uniform lighting when beam angles remain constant. Conversely, wider beam angles allow increased spacing without sacrificing evenness.
Consider these practical guidelines when planning your lightbox dimension planning:
When working with large format displays, remember that deeper boxes accommodate higher-output LEDs without creating hot spots. According to industry guidance, very high-output LEDs become necessary at depths exceeding 6 inches (15 cm), though this may increase manufacturing costs. Creating a false back plate to position LEDs closer to optimal depth often proves more economical than using extremely powerful light sources.
Deeper profiles don't just prevent hot spots. They fundamentally change how your lightbox uses energy and how colors appear to viewers.
With adequate depth, light bounces off internal surfaces multiple times before reaching the graphic face. This reflection-based diffusion creates softer, more uniform illumination. 3M's guidelines emphasize that reflectivity becomes especially important since newer LED modules with optics rely on internal surfaces to redirect light forward. Covering all interior surfaces with reflective white material maximizes this effect.
Energy efficiency follows an interesting curve. Shallower profiles require fewer LEDs but demand specialized low-lumen modules with wide beam optics. These components often cost more per unit. Deeper profiles allow standard LED modules but need more of them to fill the larger interior volume. The sweet spot typically falls in the 80-100mm range for most commercial applications, balancing component costs against total LED quantity.
Your installation environment adds another layer to the lightbox depth calculator equation. Outdoor displays face challenges that indoor units never encounter.
For outdoor installations:
For indoor installations:
Temperature fluctuations affect LED performance differently indoors versus outdoors. Outdoor displays in hot climates may require additional depth to accommodate ventilation features, while cold-climate installations might use shallower profiles since LEDs operate efficiently at lower temperatures.
With your sizing calculations complete and depth selection finalized, the appearance of your finished display depends significantly on surface treatment choices. The next section explores how different finishing options affect both aesthetics and long-term performance.
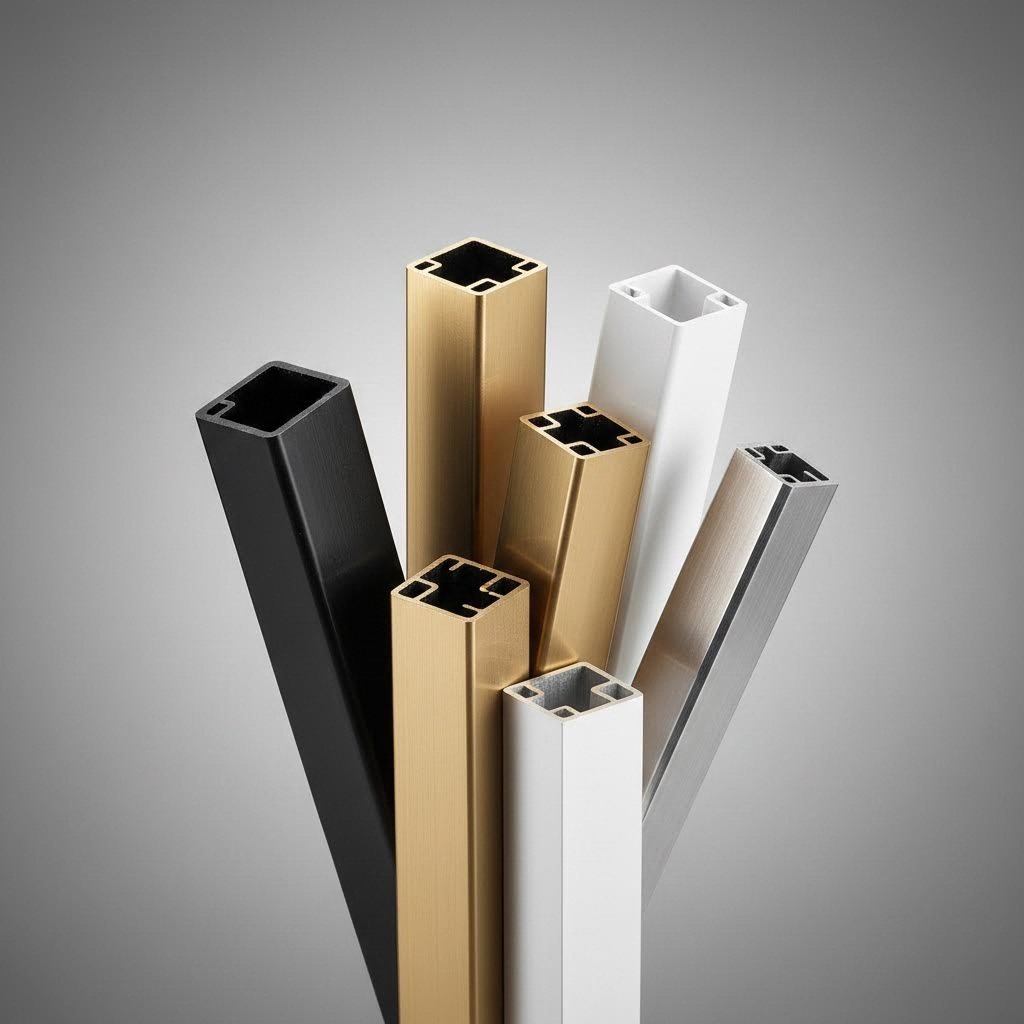
Your aluminum lightbox extrusion might have perfect dimensions and ideal depth, but without the right surface treatment, it won't perform or look the way you expect. Surface finishing isn't just about aesthetics. It determines corrosion resistance, durability, and how well your display holds up over years of service. Understanding your options helps you specify the right finish for your application while avoiding costly mistakes.
Two finishing methods dominate the aluminum extrusion finishes market: anodizing and powder coating. Each offers distinct advantages, and choosing between them depends on your specific requirements.
Anodizing transforms the aluminum surface through an electrochemical process. Unlike paint or powder coating that sits on top of the metal, anodizing converts the surface layer into aluminum oxide. This creates an integrated protective layer that becomes part of the metal itself. According to PTSMAKE's finishing guide, this oxide layer is exceptionally hard, often ranking just below diamond on the Mohs scale for hardcoat anodizing.
What does this mean practically? An anodized aluminum lightbox frame resists scratches and abrasion far better than painted alternatives. The finish won't chip, peel, or flake because it's not a coating. It's the transformed surface of the aluminum itself.
Powder coating works differently. A dry powder mixture of finely ground pigment and resin is applied electrostatically, then baked onto the metal to form a hard, durable coating. This process creates a protective layer that preserves the metal's integrity while offering extensive color options.
Here's a quick comparison to guide your decision:
| Characteristic | Anodizing | Powder Coating |
|---|---|---|
| Adhesion Method | Integrated into metal surface | Bonded coating on surface |
| Scratch Resistance | Excellent, ceramic-like hardness | Good, but can chip under impact |
| Color Options | Limited to metallics and select dyes | Virtually unlimited colors and textures |
| Typical Lifespan | 10-20+ years | 5-10 years (standard), longer with premium formulations |
| Cost | Moderate to high | Low to moderate |
| Best Applications | High-traffic areas, premium displays, outdoor installations | Custom brand colors, indoor applications, budget-conscious projects |
For powder coated sign frames in retail environments, the extensive color matching capabilities often outweigh other considerations. You can match exact Pantone colors or create custom finishes that align perfectly with brand guidelines. Anodized finishes, while more limited in color range, deliver that distinctive metallic quality that powder coating cannot replicate.
Beyond standard anodizing and powder coating, several specialty treatments address specific performance requirements or aesthetic goals.
PVDF (Polyvinylidene Fluoride) Coating represents the gold standard for outdoor lightbox coating applications. This high-performance finish provides exceptional resistance to UV radiation, salt water, atmospheric pollution, and other environmental challenges. According to Pailian Aluminium's technical comparison, PVDF coated profiles are frequently used in high-end architectural applications like curtain walls and high-rise building facades where durability is paramount.
The warranty coverage tells the story. Standard powder coating typically carries a 5-year warranty against cracking, peeling, or fading. PVDF coating often comes with a 20-year warranty against fading, cracking, and chalking. For permanent outdoor installations, that extended protection justifies the higher initial investment.
Micro-arc Oxidation (also called plasma electrolytic oxidation) creates an extremely hard ceramic coating on aluminum surfaces. This process produces oxide layers significantly thicker and harder than conventional anodizing. It's particularly valuable for displays in harsh environments or high-abuse locations.
Here are the primary finish options with their key characteristics:
Established manufacturers like Shengxin Aluminium offer comprehensive finishing options including anodizing in custom colors, powder coating, PVDF, and micro-arc oxidation. When evaluating suppliers, verify they can provide the specific finish your application requires.
Not all surface treatments deliver equal performance, even when using the same process name. Manufacturing quality control determines whether your anodized aluminum lightbox actually achieves the durability you're paying for.
Several key factors affect finish quality:
When evaluating aluminum profile suppliers, ask these questions before placing orders:
Reputable manufacturers with comprehensive processing capabilities provide documentation verifying their quality control processes. With over 30 years of experience and advanced processing facilities, suppliers like Shengxin Aluminium demonstrate the technical depth needed for consistent, high-quality finishes. Their custom extrusion services include end-to-end support from die development through finishing, ensuring quality control throughout the production process.
Understanding surface treatments helps you specify the right finish upfront. But what happens after installation? Proper maintenance extends the life of any finish, while ignoring care requirements can undo even the best surface treatment. The next section covers maintenance protocols and troubleshooting solutions to keep your displays looking professional for years.
Your aluminum lightbox extrusion investment doesn't end at installation. Like any professional display system, these illuminated frames require ongoing care to maintain their visual impact and functional performance. The good news? Proper maintenance is straightforward, and most common issues have simple fixes when you catch them early.
Regular maintenance prevents small problems from becoming expensive repairs. According to Exhibit Central's maintenance guidelines, routine inspections should check for physical damage like cracks or loose parts in external edges and internal braces, addressing issues promptly before they worsen.
Here's a practical maintenance checklist to keep your displays performing optimally:
Cleaning procedures vary based on your frame's finish. For anodized aluminum, use a soft cloth dampened with mild detergent solution, then dry thoroughly with a clean cloth. Never spray cleaning agents directly onto the frame or LED components. As noted by LED Screen Parts, avoid alcohol-based, solvent-based, or acidic cleaners that can damage protective coatings.
For fabric graphics, follow the manufacturer's specific instructions. Most SEG fabrics can be spot-cleaned but should not be machine washed. Store replacement graphics in clean, dry conditions away from direct sunlight to prevent premature fading.
Even well-maintained displays occasionally develop problems. Knowing how to diagnose and address these issues saves time and money. Here are the most common problems you'll encounter:
Uneven Lighting or Hot Spots: According to FrameGlow's troubleshooting guide, this typically results from improper LED alignment, insufficient diffusion, or defective LEDs. Solutions include repositioning LED strips for even spacing, upgrading to a higher-quality diffuser that distributes light more uniformly, or replacing any malfunctioning LED modules.
Corner Joint Separation: Loose corner connections create visible gaps and structural instability. Retighten corner connector hardware using the original Allen keys. If threads are stripped, replace the corner brackets entirely rather than attempting temporary fixes.
Graphic Sagging or Wrinkles: Tension fabric systems can lose tautness over time, especially in humid environments. Re-tension the fabric by removing and reinstalling the silicone edge, starting at corners and working toward the center of each side. If the silicone beading shows wear, replacement graphics may be necessary.
LED Flickering or Failure: Power supply issues or failing LED modules cause flickering. Check that the power source provides consistent voltage, upgrade to high-quality LED drivers compatible with your setup, and replace any non-functional LED segments. According to industry guidance, enhancing ventilation around the lightbox helps dissipate heat that can cause premature LED failure.
Understanding expected lifespans helps you budget for replacements and recognize when repairs no longer make sense:
When repair costs exceed 50% of replacement value for any component, replacement typically proves more cost-effective. For complex issues or extensive damage, consulting professional technicians ensures optimal results and prevents further complications. Proper care extends lightbox longevity significantly. Maintain stable temperatures, ensure adequate ventilation, and avoid prolonged static image display to prevent screen burn-in. These simple practices protect your investment while keeping your displays looking professional for years to come.
You've mastered the technical specifications, selected the perfect profile type, and understand exactly how to maintain your display. But here's the question that ultimately determines project success: how do you navigate lightbox extrusion pricing and find an aluminum profile supplier who delivers genuine value? This final piece of the puzzle separates smart buyers from those who overpay for underperforming products.
Several interconnected factors determine what you'll pay for aluminum lightbox extrusion. Understanding each component helps you budget accurately and negotiate effectively.
Raw Material Costs: Aluminum pricing fluctuates based on global market conditions. According to Gabrian International's cost analysis, the base price of aluminum has varied anywhere from $1,500 to $3,500 per metric ton in recent years, influenced by political events, environmental regulations, and supply chain dynamics. This volatility means quotes can change significantly between initial inquiry and final order.
Die and Tooling Charges: Custom extrusion cost factors include upfront tooling expenses. Standard architectural dies typically range from $400 to $1,000, while complex geometries for large-press production can reach $2,000 or more. Some manufacturers refund tooling costs if you purchase stipulated quantities within two years, and many don't charge for replacement tools once orders continue beyond the initial die's useful life.
Surface Finishing Premiums: As noted in industry data, anodizing and powder coating typically add $1,200 to $1,400 per metric ton depending on profile complexity. Specialty finishes like wood-look treatments cost significantly more. Budget accordingly based on your aesthetic and durability requirements.
Secondary Operations: Fabrication services including CNC machining, drilling, and cutting add to your total. Simple drilling operations run approximately $200-$300 per metric ton, while complex machining involves both tooling costs and processing time. Choosing a vertically integrated supplier who handles extrusion, fabrication, and finishing in-house typically reduces costs compared to coordinating between multiple vendors.
Two practical considerations significantly impact your procurement planning: MOQs and delivery timelines.
Minimum order quantities exist for legitimate economic and technical reasons. According to KMC Aluminium's analysis, factors driving MOQ requirements include:
For wholesale lightbox frames, expect lead times structured around three phases. Tooling lead time typically runs 2-4 weeks for die creation. Production lead time follows die approval, with duration depending on order volume and production scheduling. Fabrication lead time adds additional days or weeks if your order requires finishing, machining, or other secondary operations.
Should you specify custom profiles or work with standard catalog options? The answer depends on your volume, budget, and specific requirements.
Standard profiles offer faster delivery, lower per-unit costs, and immediate availability. They work well for straightforward applications where existing designs meet your needs. However, you sacrifice design flexibility and may compromise on features that could improve your display's performance.
Custom extrusions provide exact specifications tailored to your application. You control every dimension, channel configuration, and mounting feature. The trade-offs include higher upfront tooling costs, longer lead times, and typically higher MOQs. For large-volume ongoing production or applications where standard profiles simply won't work, custom development makes sense.
Finding the right aluminum profile supplier requires systematic evaluation beyond just comparing quoted prices. Ask these essential questions before committing to any vendor:
According to sourcing experts, documenting and comparing responses across multiple suppliers serves as valuable reference for decision-making and ongoing supply chain management.
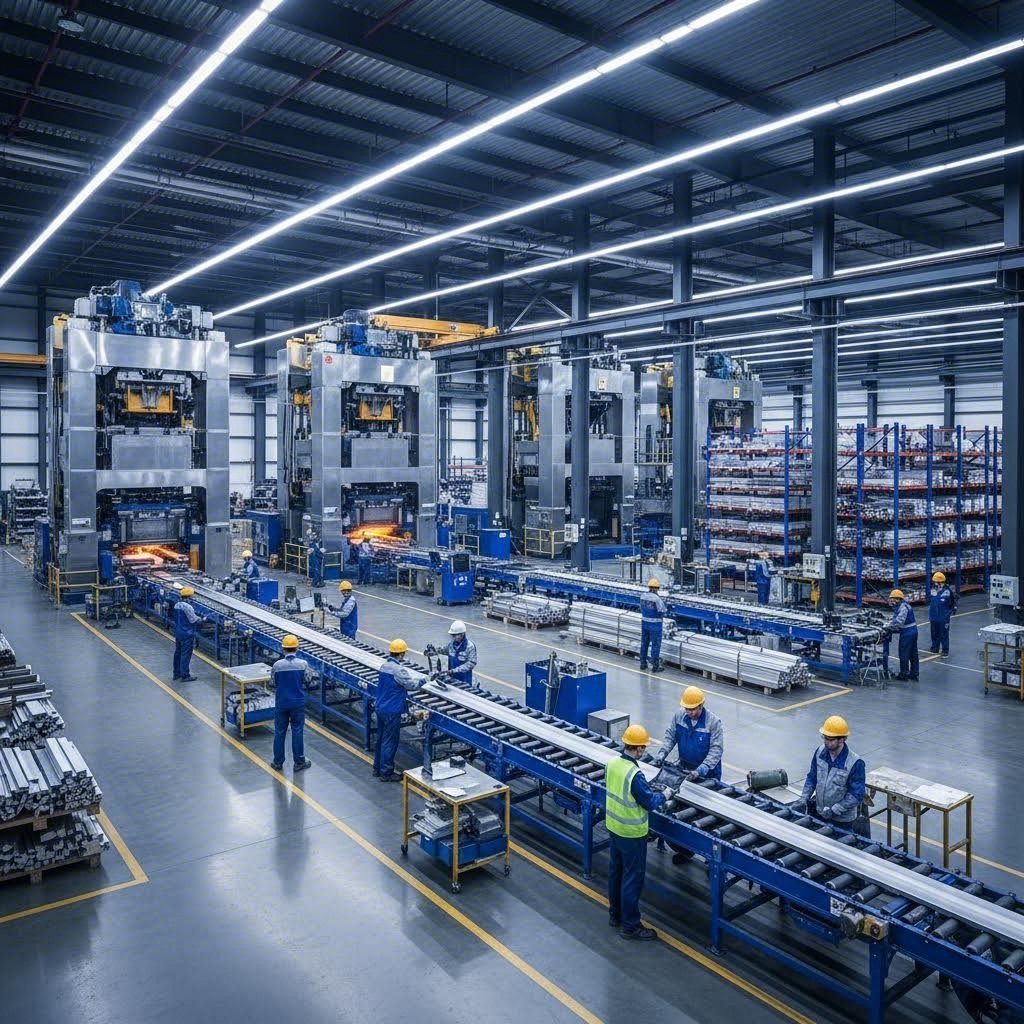
What distinguishes established manufacturers from smaller operations? Look for comprehensive capabilities that reduce your coordination burden. For example, Shengxin Aluminium demonstrates the scale and integration that serious buyers should seek: over 30 years of industry experience, 35 advanced extrusion presses ranging from 600T to 5500T capacity, and end-to-end support from die development through mass production. This level of vertical integration means single-source accountability for quality, simplified logistics, and factory-direct pricing that eliminates middleman markups.
When evaluating any supplier, verify they can support your complete requirements, from initial design assistance through finishing and fabrication. Suppliers offering comprehensive technical support help you optimize designs for manufacturability, potentially reducing costs while improving final product quality. Taking time to thoroughly vet potential partners pays dividends throughout your project and positions you for successful long-term procurement relationships.
For most lightbox applications, 6063-T5 aluminum is the preferred choice due to its excellent surface finish after anodizing and superior corrosion resistance. This alloy offers higher thermal conductivity, which helps dissipate heat from LED modules. However, for large-format displays or freestanding installations requiring greater structural strength, 6061-T6 aluminum provides higher yield strength and fatigue resistance, making it ideal for demanding commercial environments.
Profile depth depends on your lightbox dimensions and viewing distance. For small retail displays up to 600mm x 800mm, use 50-70mm depth. Medium trade show graphics between 800mm x 1200mm to 1500mm x 2000mm work best with 80-100mm profiles. Large architectural installations over 2000mm x 3000mm require 100-150mm depth. The key principle is that LED spacing should equal approximately 1 to 1.5 times your profile depth for uniform light distribution without hot spots.
SEG (Silicone Edge Graphics) systems use tension fabric with silicone strips that snap into aluminum channels, creating seamless edge-to-edge graphics with tool-free installation in under five minutes. They excel in backlit applications and trade shows. Snap frames feature hinged aluminum profiles that open to accept rigid printed panels, allowing quick front-loading graphic changes without wall removal. SEG offers superior aesthetics for backlit displays, while snap frames provide easier content updates with paper or rigid substrates.
Preventing hot spots requires proper LED spacing relative to profile depth. Install LEDs as far from the graphic panel as possible to allow light diffusion before reaching the display surface. Follow this formula: space LEDs at 60-80% of your profile depth for depths under 75mm, and 100-120% for depths between 75-120mm. Use a quality diffuser panel, ensure all interior surfaces are covered with reflective white material, and select LEDs with appropriate beam angles of 90-120 degrees for standard applications.
For permanent outdoor installations, PVDF (Polyvinylidene Fluoride) coating is the gold standard, offering exceptional UV radiation resistance, salt water protection, and atmospheric pollution resistance with warranties often extending to 20 years. For high-traffic outdoor areas requiring maximum durability, micro-arc oxidation creates an extremely hard ceramic coating. Standard powder coating works for indoor applications, while anodizing provides excellent scratch resistance and is ideal for premium displays where the metallic finish is part of the aesthetic.



 Інтернет-сервіс
 0086 136 3563 2360
 sales@sxalu.com
 +86 136 3563 2360
 Українська
 English
 français
 Deutsch
 русский
 español
 português
 العربية
 ไทย
ไทย Việt
Việt