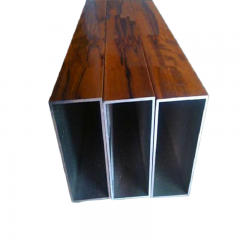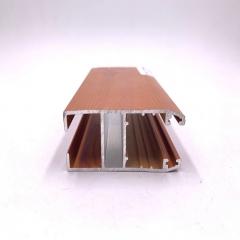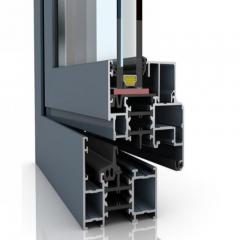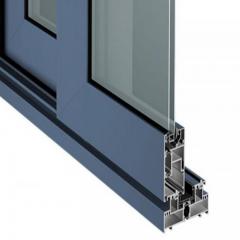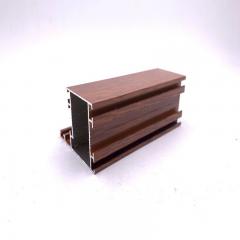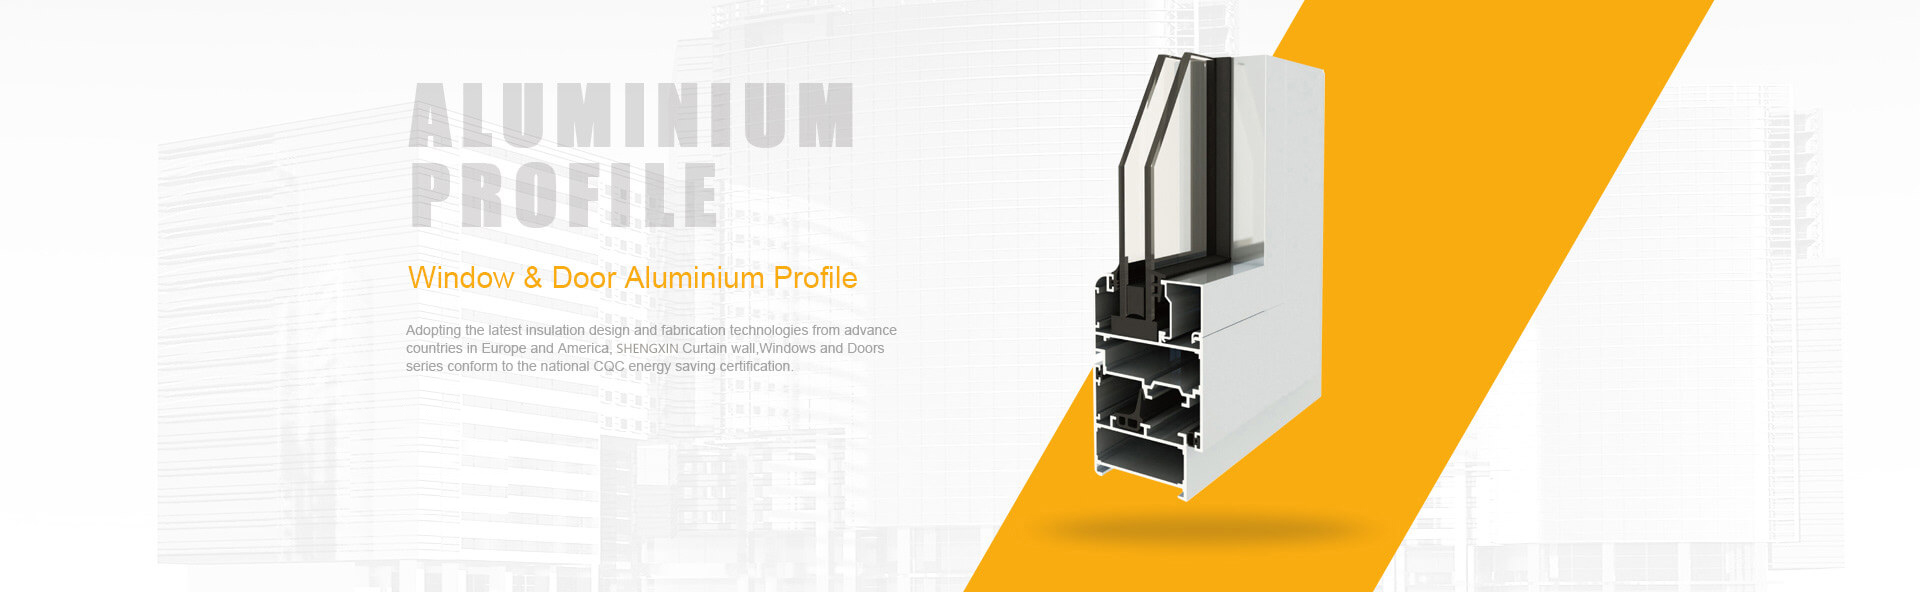
Ever wondered how complex aluminum shapes—everything from window frames to automotive rails—are made with such precision? The answer lies in the aluminum extrusion process. In simple terms, aluminum extrusion is the method of forcing a heated aluminum billet through a shaped die to produce long pieces with a uniform cross-section. Imagine squeezing toothpaste from a tube, but with much higher pressure and temperature. This process can create intricate aluminum extrusion profiles that are both lightweight and strong, making them ideal for a wide variety of applications. The resulting aluminum extruded parts can be further heat treated, finished, or machined to meet exact project needs, accommodating both standard and custom requirements.
Sounds complex? Not really. Aluminum extrusion allows for three main profile families:
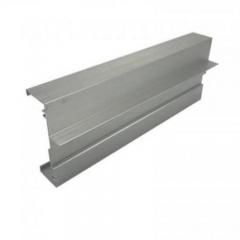
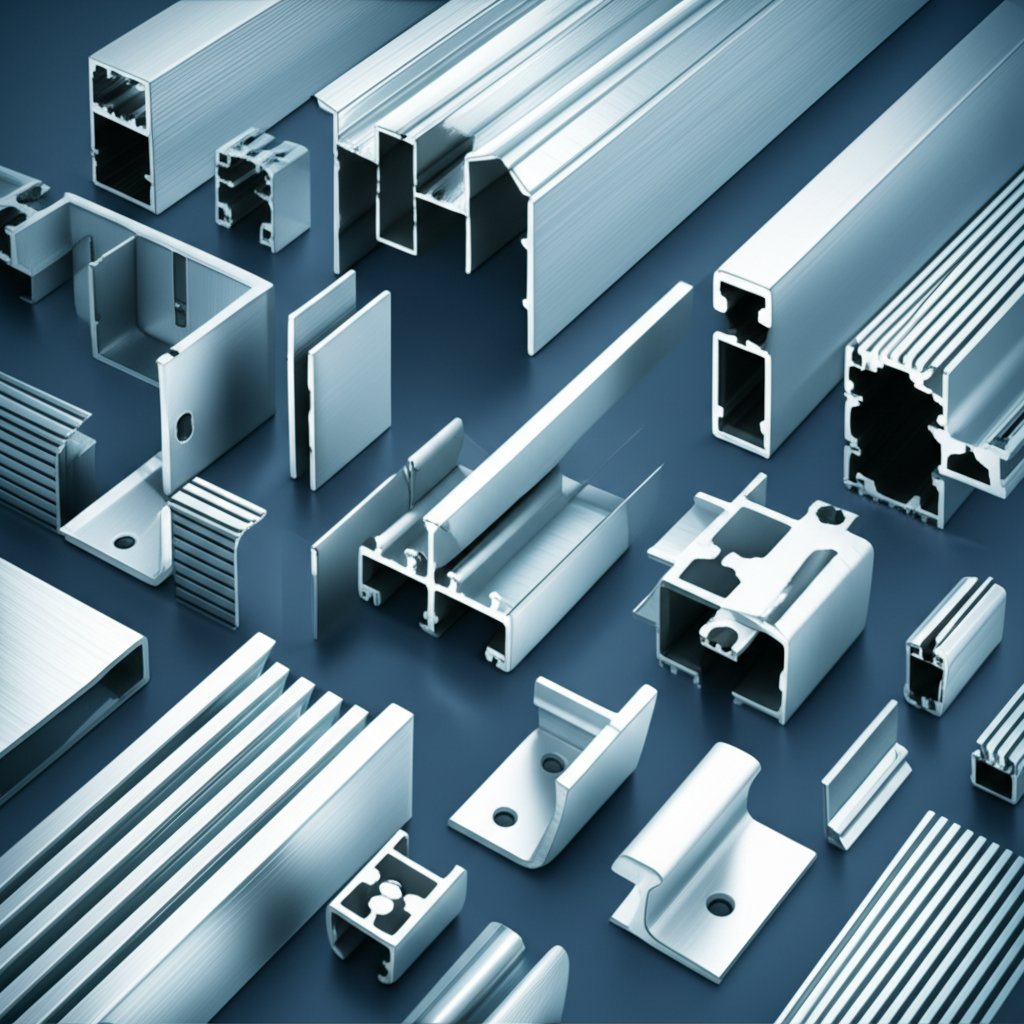
Each profile type can be tailored for specific applications, from simple aluminum shapes to highly engineered profile aluminum for robotics or architectural use.
In 2025, aluminum extrusion is everywhere. You’ll notice these versatile parts in:
Why do designers and engineers choose aluminium extrusion over other materials? Here are the main advantages:
| Material | Density (g/cm³) | Recyclability | Typical Lead Time |
|---|---|---|---|
| Aluminum | ~2.7 | Excellent (100%) | 2–6 weeks (extrusion aluminum) |
| Steel | ~7.8 | Very Good | 4–12 weeks (machining/fabrication) |
| Plastic | ~0.9–1.5 | Moderate–Good | 1–4 weeks (injection molding) |
Tooling amortization and buy-to-fly ratio drive total cost more than alloy price in low-to-mid volumes.
Choosing extrusion aluminum is not just about material cost—it’s about leveraging design freedom, sustainability, and speed to market. As you read on, you’ll discover practical guidance on designing for extrusion, setting tolerances, joining strategies, and procurement best practices. This guide closes industry gaps by providing real-world tolerances, structural property use, and numeric case studies—details that buyers and engineers often struggle to find in vendor catalogs.

Ever wonder what it takes to turn a solid aluminum log into intricate profile extrusion shapes? The journey from billet to finished bar involves a series of tightly controlled steps—each one shaping the final quality and performance of extruded aluminum systems. Here’s how the process unfolds:
Not all aluminum extruders are created equal. The size and complexity of your al extrusion profile dictate the press required. Here’s what matters:
Here’s where science meets art. The right thermal and speed settings ensure a balance between surface finish, dimensional tolerance, and throughput. For 6xxx series alloys, key process parameters look like this:
| Step | Typical Setting | Notes |
|---|---|---|
| Billet Preheat | 400–500°C | Ensures plastic flow; higher for complex shapes |
| Container Temp | 380–450°C | Reduces sticking and die wear |
| Die Temp | ~450°C | Preheated for consistent flow |
| Exit Temp | 500–560°C | Controls grain structure and mechanical properties |
| Ram Speed | 1–6 m/min (simple); 0.5–2 m/min (complex hollows) | Slower for intricate or hollow profiles |
| Quench Method | Air, water, or mist | Depends on temper and desired properties |
| Artificial Aging | 170–200°C (T5/T6) | Develops full strength |
When you extrude aluminum at higher speeds, you increase productivity but risk surface defects or dimensional drift, especially with intricate hollows or thin walls. Conversely, slower speeds improve finish and tolerance but reduce output.
Die design is an art form in extrusion of aluminium. Features such as tongues, bridges, and bearing lengths help balance metal flow. For hollow profiles, well-designed ports and welding chambers prevent weak seams. Nitriding the die surface extends tool life. Exit temperature is the key lever—too high, and you risk grain coarsening; too low, and flow may stall.
But what if something goes wrong? Here are signals and fixes:
For critical work, reference standards like ASTM B221 or EN 755 series for dimensions and temper designations. Documenting SPC (Statistical Process Control) on exit temperature, pull force, and quench rate helps correlate process settings with final properties for high-reliability extruded aluminum systems.
Profile complexity determines safe speed more than alloy choice.
Understanding these process levers empowers you to design, specify, and troubleshoot profile extrusion with confidence. Next, we’ll dive into design rules that help you avoid costly tooling changes and get the most out of every extrusion run.
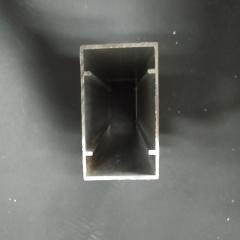
Ever been frustrated by warping or cracking in an aluminum extrusion profile? Often, the culprit is inconsistent wall thickness or pushing the limits too far. For most extruded aluminum profiles, maintaining a uniform wall thickness—ideally within 1.2–1.6 mm for simple solids and 1.8–2.5 mm for complex hollows—provides the best balance of strength, stability, and cost-effectiveness. When walls get too thin or vary dramatically, you risk distortion, surface marks, and higher rejection rates. Uniformity also ensures smoother metal flow through the die and helps avoid visible marks on finished surfaces.
Designing a t channel aluminum or other specialized aluminum extrusion shapes? Keep transitions between thick and thin sections as gradual as possible. Use generous radii to streamline changes—this minimizes stress and prevents unsightly marks, especially after finishing.
Imagine you’re designing a slot or cavity for an aluminum extruded shape. Sharp corners may look crisp on paper, but in practice, they stress the die and increase the risk of breakage. Rounded corners—typically with a radius of at least 0.5 times the wall thickness—are much stronger and easier to extrude. For transitions between features, aim for a radius at least equal to the wall thickness. This not only reduces die wear but also improves the overall strength and finish of your aluminium extrusion profiles.
For features like tongues or thin fins, keep aspect ratios in check to avoid instability. As a rule, tongue length should not exceed 8 times its thickness, and slot widths should be at least equal to the wall thickness.
| Feature Type | Recommended Limit |
|---|---|
| Slot width | ≥ wall thickness |
| Tongue length | ≤ 8x thickness |
| Corner radius | ≥ 0.5x wall |
| Transition radius | ≥ 1.0x wall |
Why pay for extra machining or assembly when you can build features right into your extruded aluminum profiles? Think about adding snap-fit tabs, heat-sink fins, wireways, or dovetail slots directly into the aluminum extrusion profile. For example, a t channel aluminum can serve as both a mounting rail and a cable guide, reducing part count and streamlining assembly. For a practical case study in multifunctional design, explore how high-quality square aluminium extrusion profiles integrate mounting, clamping, and cable management for solar panels – demonstrating these principles in action. Just be sure to avoid unvented pockets or trapped metal, which can cause defects or complicate the extrusion process.
Here’s a quick checklist of do’s and don’ts for designing aluminum extruded shapes:
Balance flow first, tolerance second; you cannot tolerance your way out of poor flow.
Ready to request a quote for your next aluminum extrusion profile? The more complete your RFQ, the fewer delays and surprises down the line. Here’s what you’ll need:
Providing this information upfront allows your supplier to evaluate tooling, anticipate challenges, and optimize costs. It also shortens lead times and helps you get the right aluminum extrusion shapes the first time.
As you refine your design, keep these principles in mind—they’ll make your next aluminum extrusion profile project easier, more reliable, and less expensive. Next, we’ll cover how to specify tolerances and quality checks to ensure every part meets your expectations.
When you design an extruded aluminum channel or any custom profile, you might wonder: How close can dimensions really get? The answer depends on profile complexity, alloy, and process control. For most 6xxx series aluminum channel extrusions, industry guidelines and supplier experience point to these typical ranges:
For more complex shapes—like a multi-cavity extruded aluminium channel—expect slightly wider tolerances, especially on internal features. Factors such as die design, cooling rate, and extrusion speed all influence the final result.
Imagine installing an aluminum extrusion rail in a precision assembly. Even a small twist or bow can create costly headaches. That’s why straightness and twist tolerances matter just as much as cross-sectional accuracy. Here’s what’s typical:
Heat treatment and quench rate after extrusion play a big role here. If you’re specifying a critical aluminum channel extrusion, call out required straightness and twist on your drawing—and include stretch percentage and aging process notes in your purchase order if they’re vital to your fit or assembly.
Not all surfaces are created equal. When you specify an anodized aluminum channel, for example, you’ll need to decide how visible die lines or minor marks can be. Surface finish is typically divided into three classes:
Anodizing can accentuate or hide extrusion lines depending on the process and alloy. For high-visibility parts, discuss finish expectations with your supplier early to avoid surprises.
| Profile Type | Dimensional Tolerance | Recommended Gage Method |
|---|---|---|
| Solid | ±0.15–0.25 mm | Caliper, CMM |
| Semi-Hollow | ±0.25–0.35 mm | Caliper, Laser |
| Hollow | ±0.35–0.5 mm | CMM, Go/No-Go |
Want to avoid disputes and costly rework? Build a clear inspection plan into your project from the start. Here’s a proven approach:
Caution: “Agree on measurement datum and sampling plan up front—most disputes are metrology problems.”
For high-precision aluminum channel extruded parts, always clarify which features are critical and which are reference-only. Specify the measurement tools (CMM, laser, go/no-go) and acceptance limits in your RFQ or PO. This approach minimizes ambiguity and keeps your project on track.
As you move from tolerances to structural sizing, the next section will show you how to use section properties and simple math to ensure your extruded aluminum channel or rail delivers the strength and stiffness your application demands.
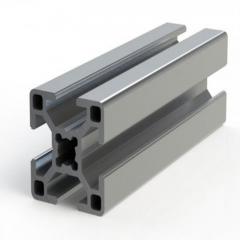
When you’re building a machine, workstation, or any load-carrying structure with aluminum extrusion, how do you know if your chosen profile is strong enough? The answer lies in the section property tables provided by suppliers. These tables list critical values such as:
For example, a 2020 aluminum extrusion (20x20 mm T-slot) is popular for light-duty frames, while a 4040 aluminium extrusion is chosen for heavier loads. Each profile’s numbers tell you how much force or deflection it can handle before you ever cut metal.
| Profile | Mass (kg/m) | Ix (cm4) | Typical Use |
|---|---|---|---|
| 2020 extrusion | 0.6–0.7 | 1.5–2.0 | Light-duty frames, guards |
| 3030 | 1.3–1.5 | 6–8 | Medium-duty machine frames |
| 4040 extrusion | 2.3–2.8 | 18–24 | Heavy-duty, high-span structures |
Always check the supplier’s technical sheet for the exact 2020 extrusion dimensions and properties—slotting or machining can change the effective stiffness.
Imagine you’re sizing a crossbar for a modular aluminum extrusion frame. How do you ensure it won’t sag or buckle? Here’s a practical approach, using standard engineering math and values from your section property tables:
For all calculations, use E = 69,000 MPa (or 69 GPa) for 6xxx series structural aluminum extrusions. Don’t forget to apply a safety factor—industry norms range from 1.5 for non-critical assemblies to 4 or higher for safety-related applications.
Use E = 69 GPa for 6xxx in elastic checks; apply safety factors for joints and connections.
Let’s walk through a quick sizing exercise for a 1-meter span crossbar, using a 2020 extrusion (Ix ≈ 1.8 cm4, mass ≈ 0.65 kg/m):
Remember, aluminum structural framing systems are often limited by joint strength or bolt slip, not just the profile’s capacity. Always review torque specs and use reaction-force-based joints when possible.
By mastering these basic calculations and understanding how 2020 extrusion dimensions and section properties translate to real-world performance, you’ll avoid over- or under-design. As we move forward, you’ll learn how to join and finish your structural aluminum extrusions for reliable, long-lasting assemblies.
When you’re building with aluminum extrusion, how do you ensure your assembly stays tight and reliable over time? The answer often lies in smart fastening choices and proper torque control. Whether you’re connecting aluminum brackets, assembling frames with aluminum angle brackets, or mounting panels using extruded aluminum connectors, the right hardware and torque values are essential.
Need a seamless joint or added rigidity? Welding and adhesives offer alternative joining strategies for aluminum extrusion assemblies. MIG and TIG welding are common for permanent structural connections, especially in high-load or vibration-prone environments. Preheating heavy sections (120–200°C) helps reduce cracking, and your choice of filler metal—4043 for color match, 5356 for higher strength—can influence both appearance and performance. Note that alloys like 6061 lose some strength in the heat-affected zone (HAZ) after welding.
Adhesive bonding is gaining traction for joining extruded aluminum connectors where aesthetics or thermal insulation are priorities. Structural acrylics or epoxies can deliver strong, vibration-resistant bonds without the risk of thermal distortion.
Once your assembly is together, secondary machining—like drilling, tapping, or milling—lets you add features or fine-tune fit. Always clamp across slot lips when tapping to avoid spreading and thread stripping—a simple but crucial tip for extending the life of your aluminum extrusion hardware.
Tip: “Clamp across slot lips when tapping to avoid spreading and thread stripping.”
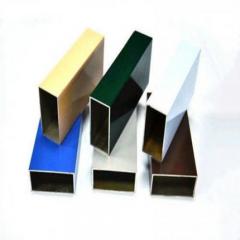
Finishing is just as important as joining. A raw, mill-finish extrusion may suffice for hidden structures, but visible or outdoor parts demand more. Here’s how the main finish types stack up:
| Finish Type | Key Benefits | Best For |
|---|---|---|
| Clear Anodize (Type II) | Corrosion resistance, electrical insulation, durable matte look | Architectural, electronics, cleanroom |
| Hard Anodize (Type III) | Superior wear resistance, harder surface | Sliding parts, abrasive environments |
| Powder Coat | Bright color, UV resistance, smooth feel | Outdoor, decorative, color-matched assemblies |
For marine or harsh outdoor environments, opt for thick anodizing or powder coat over aluminum angle brackets and exposed frames. In cleanrooms or electronics, clear anodize is preferred for its insulating properties and easy cleaning.
Proper surface prep—like etching and de-smutting after machining—ensures finishes adhere well and last. Don’t skip these steps, especially before anodizing or powder coating, to avoid peeling or uneven color.
So, when should you use t-track fasteners, welding, or bonding? Consider:
For most modular builds—think workstations, machine guards, or adjustable t slot cross bars—mechanical fasteners and aluminum extrusion hardware offer the best blend of flexibility and speed. For permanent, high-strength connections, welding or adhesives may be the way to go.
As you finalize your assembly and finishing strategy, keep in mind that your choices here will influence tolerances, appearance, and long-term durability. Next, we’ll examine how alloy and temper selection shapes the strength, surface, and cost of your extrusion project.
When you’re faced with a wall of alloy numbers—6063, 6061, 6005A, 6082—it’s easy to feel overwhelmed. Which aluminum extrusion alloy is right for your project? The answer depends on balancing strength, finish, formability, and cost. In most applications, the 6xxx series (especially 6063 and 6061) lead the way because they offer a sweet spot between mechanical performance and extrudability. Here’s a quick look at the most common choices for aluminum extruded profiles and why they matter:
| Alloy & Temper | Yield Strength (MPa) | Ultimate Tensile Strength (MPa) | Surface Finish | Best For |
|---|---|---|---|---|
| 6063-T5 | ~145 | ~190 | Excellent anodize | Architectural, heat sinks, decorative aluminum profiles |
| 6061-T6 | ~240 | ~290 | Good anodize, machineable | Fixtures, brackets, aluminium extrusion parts |
| 6005A-T6 | 250–270 | ~300 | Good anodize | Structural frames, ladders, platforms |
| 6082-T6 | 280–310 | ~340 | Fair anodize | Heavy-duty, high-load extruded aluminum tubing |
Sounds complex? Imagine you’re designing a visible window frame versus a hidden machine bracket. For architectural or decorative aluminum profile extrusion, 6063-T5 is the go-to: it’s easy to extrude, delivers crisp details, and takes anodizing beautifully. But if you need more muscle—say, for a load-bearing fixture—6061-T6 or 6005A-T6 step up with higher strength and solid machinability, though they may require a bit more care during extrusion and finishing.
Here’s what to keep in mind when weighing your options:
When it comes to aluminum extrusion tube or extruded aluminum tubing, alloy selection plays a big role in both performance and cost. For simple, round tubes in architectural settings, 6063 is usually sufficient. For pressure vessels, automotive rails, or heavy-duty applications, 6061 or 6082 may be required to meet strength targets. Complex hollows—think multi-chamber window profiles or cable raceways—are easier to extrude with 6063, but can be made from higher-strength alloys with the right die strategy and press settings.
Planning to weld your aluminum profiles? 6061 and 6063 are both weldable, but be aware: using 4043 filler gives a good color match for anodizing but slightly lower strength, while 5356 filler offers higher strength but can cause stress-corrosion issues in high-magnesium alloys. Always factor in your finishing process—some alloys take anodizing or powder coating better than others, so match your choice to the desired look and durability.
Pick the weakest alloy that meets requirements—finish and extrusion speed drive real-world cost.
Choosing the right alloy and temper isn’t just about maximizing strength. It’s about finding the balance that delivers the performance, appearance, and value your project needs. As you finalize your selection, keep these trade-offs in mind—your next chapter will guide you through procurement, tooling, and how to get accurate quotes for your aluminum extrusion project.
When you’re ready to turn your design into reality, what should you expect in terms of tooling, order size, and delivery? For custom aluminum extrusion projects, the journey begins with the die. Tooling costs range widely depending on complexity:
Lead times for new dies are usually 2–6 weeks, factoring in design, machining, and sample approval. MOQs (minimum order quantities) for custom extruded aluminum are generally 300–1,000 kg, depending on the supplier and profile size. For buyers searching for aluminium extrusions for sale in smaller quantities, some vendors offer stock aluminum extrusions—standard shapes ready to ship with no tooling fee, but with less design flexibility.
Wondering where your money goes? The total aluminum extrusion cost is a sum of several components. Here’s a simplified breakdown for a typical 1,000-kg run:
| Cost Component | Typical Range | Notes |
|---|---|---|
| Raw Material | $1,500–$3,500/ton | Varies by alloy, LME price, and region |
| Extrusion Processing | $400–$1,000/ton | Labor, energy, overhead |
| Finishing (Anodize/Powder Coat) | $0.20–$1.00/m | Depends on thickness, color, and process |
| Secondary Machining | $200–$500/ton | Drilling, cutting, bending |
| Freight & Logistics | $8,000–$20,000/container (sea) | Varies by route, packaging, and urgency |
| Die Amortization | $1–$10/pc | Lower per-piece with higher volumes |
To reduce costs, consider bulk orders to spread tooling across more units, select standard alloys, and minimize secondary operations. Vertically integrated suppliers who combine extrusion, machining, and finishing can also deliver cheap aluminum extrusion by reducing handoffs and shipping costs.
Submitting a detailed RFQ (request for quote) is the fastest way to get a clear, competitive proposal. What should you include?
Imagine you’re sourcing an aluminum frame kit or aluminum tubing for sale. Providing these details upfront avoids delays, reduces back-and-forth, and helps suppliers optimize their quote for your needs.
| Supplier | Press Range | Alloys | Finishes | MOQ | Certifications | Lead Times |
|---|---|---|---|---|---|---|
| Shengxin | 300–5500 tons | 6000, 7000 series | Anodize, powder coat, wood grain | 300 kg | ISO, automotive | 2–6 weeks |
| Supplier B | 600–4000 tons | 6063, 6061 | Anodize, powder coat | 500 kg | ISO | 3–8 weeks |
| Supplier C | 800–2500 tons | 6063 | Mill, anodize | 1,000 kg | ISO | 4–10 weeks |
Choosing the right partner for your custom aluminum extrusion project is about more than just price. Consider press capacity, finish options, volume flexibility, and certifications. For complex or high-volume needs, a professional manufacturer like Aluminum Profile offers a broad range of capabilities, rapid lead times, and proven quality.
"Understanding the full cost stack—tooling, material, processing, finishing, and logistics—lets you negotiate smarter and avoid hidden surprises."
As you move from quoting to production, the next section will showcase real-world case studies—demonstrating how smart procurement and design choices deliver measurable savings and performance gains in aluminum extrusion projects.

When you swap steel for aluminum extrusion, what does it really mean for your bottom line? Let’s break it down with a real-world example. Imagine a structural bracket originally fabricated from steel, weighing 2.4 kg per part. By re-engineering the design for curved extruded aluminum, integrating mounting features and eliminating unnecessary welds, the part weight dropped to just 1.39 kg—a 42% reduction. Machining time fell by 35% thanks to built-in slots and holes, and the simplified assembly meant fewer fasteners and less labor.
| Before (Steel) | After (Aluminum Extrusion) | Improvement | |
|---|---|---|---|
| Mass (kg/part) | 2.40 | 1.39 | -42% |
| Part Count | 3 | 1 | -67% |
| Cycle Time (min) | 18 | 11.7 | -35% |
| Unit Cost ($) | 12.00 | 8.20 | -32% |
| CO2e/unit (kg) | ~14.0 | ~7.0 | -50% |
Even with a higher raw material cost per pound, the total cost per unit fell sharply once tooling was amortized—typically after just 3,200 units. The switch to extruded aluminum rails also brought better corrosion resistance and a cleaner finish, making the parts suitable for exposed architectural or machinery use.
How much can you lower your carbon footprint by choosing recycled billet for your aluminum extrusion project? According to industry data, primary billet production emits between 8–16 kg CO2e per kg, while using billet with 75% recycled content drops that to just 3–5 kg CO2e per kg—a 50–65% reduction [International Aluminium Institute]. For a 1,000-piece run of extruded aluminum track, this choice alone can save several tons of CO2 emissions.
Choosing recycled content is especially impactful for large projects—think aluminum channel track in solar arrays or aluminum t track extrusion in modular furniture. Not only does it make your product greener, but it can also help meet LEED or other sustainability certifications.
Ready to put these lessons to work? Here’s a step-by-step action plan to guide your aluminum extrusion project from sketch to finished part:
Key takeaways: “Integrate functions into the profile, lock tolerances early, and align alloy/temper with finishing.”
Aluminum extrusion delivers measurable gains in weight, cost, and sustainability when you follow proven design and sourcing strategies. Whether you’re engineering curved extruded aluminum for architecture, v slot extruded aluminum for modular builds, or black aluminium extrusion for high-impact aesthetics, the right approach pays off in every metric that matters. For expert guidance on design, finishing, and quotation intake, reach out to Aluminum Profile—and start your next project with confidence.
Aluminum extrusion is a manufacturing process where heated aluminum billets are forced through a die to create profiles with a constant cross-section. This method enables the creation of complex, lightweight shapes for applications in architecture, machinery, transportation, and more. The process includes preheating, extrusion, quenching, stretching, and aging to achieve the desired strength and finish.
Aluminum extrusion profiles offer several benefits, including high strength-to-weight ratio, excellent corrosion resistance, integrated design features, near-net shape manufacturing to reduce waste, and a variety of surface finishing options. These qualities make them ideal for industries needing custom, durable, and sustainable components.
Selecting the right alloy and temper depends on your project's strength, finish, and cost requirements. Common choices include 6063-T5 for high-finish, visible parts, and 6061-T6 or 6005A-T6 for structural applications needing greater strength. Consider the required appearance, corrosion resistance, and any post-extrusion forming or machining when making your choice.
The total cost of custom aluminum extrusions is influenced by alloy selection, profile complexity, die and tooling expenses, order volume, finishing processes, and logistics. Bulk orders and standardized designs can help reduce per-unit costs, while complex shapes or specialized finishes may increase expenses. Working with experienced suppliers can streamline the process and uncover cost-saving opportunities.
To ensure quality, provide a detailed RFQ with profile drawings, tolerances, alloy and temper specifications, and expected volumes. Agree on inspection plans and measurement methods with your supplier, referencing industry standards like ASTM B221 or EN 755-9. Validating samples and monitoring key process parameters further help deliver precise and reliable extrusions.


 Інтернет-сервіс
 0086 136 3563 2360
 sales@sxalu.com
 +86 136 3563 2360
 Українська
 English
 français
 Deutsch
 русский
 español
 português
 العربية
 ไทย
ไทย Việt
Việt