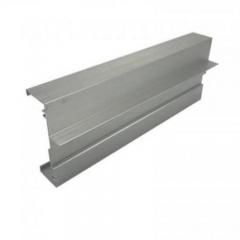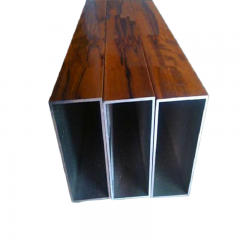
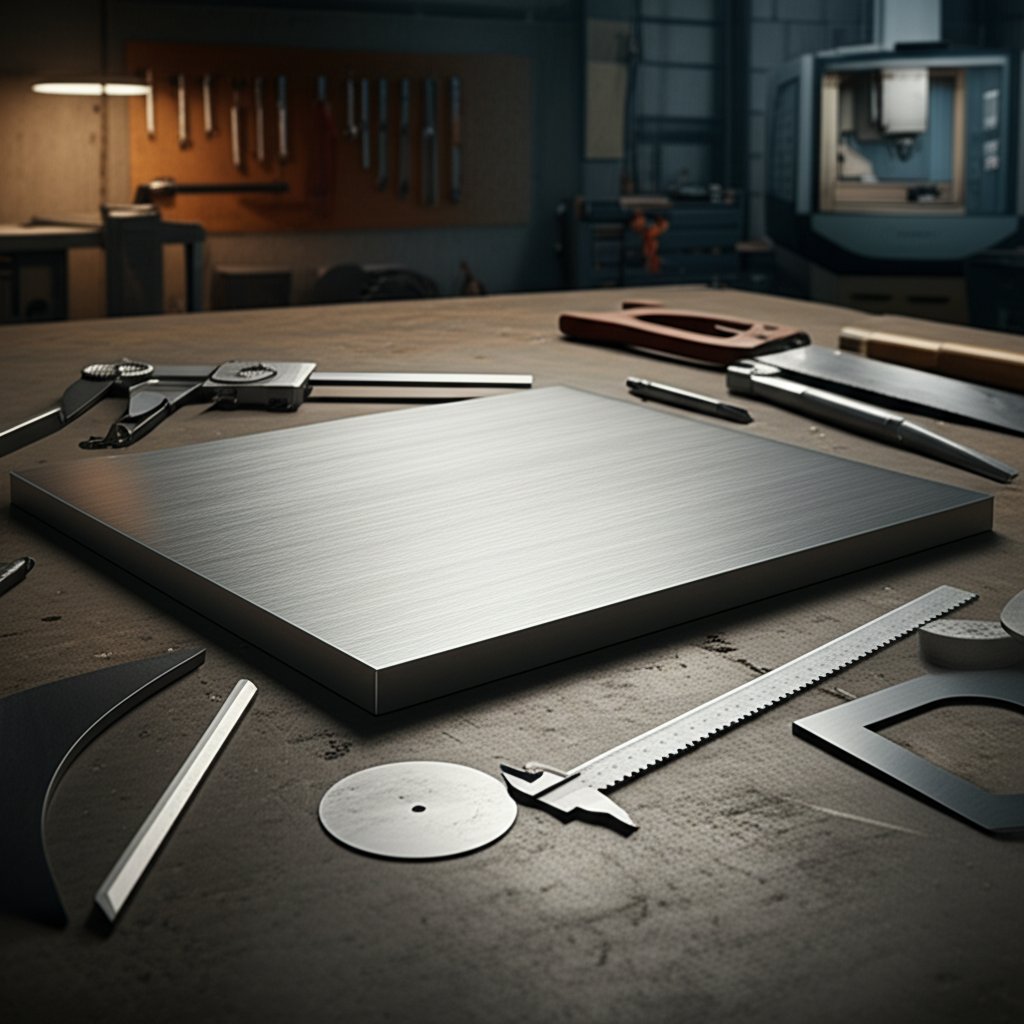
When you’re choosing materials for a project that demands strength and reliability, it’s easy to get lost in the details. Is a metal sheet enough, or do you need something tougher? That’s where the 1/4 aluminum plate stands out—a workhorse in the world of metals, prized for its blend of rigidity, weight, and versatility. But what exactly sets it apart, and how do you know it’s the right call for your next build?
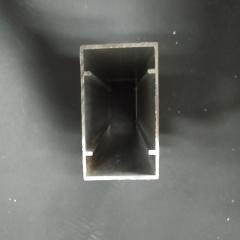
The term "1/4 aluminum plate" refers to an aluminum product with a thickness of exactly 0.250 inch (6.35 mm). According to industry standards, any aluminum product at or above this thickness is classified as a plate, while anything thinner is considered sheet metal. This distinction is important because aluminum plate offers significantly greater stiffness and load capacity compared to sheet, making it ideal for structural and heavy-duty applications.
When load-bearing strength and rigidity matter, choose plate over sheet—especially for demanding structural or industrial builds.
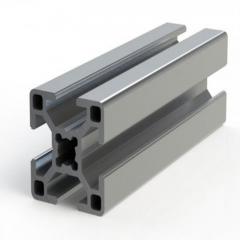
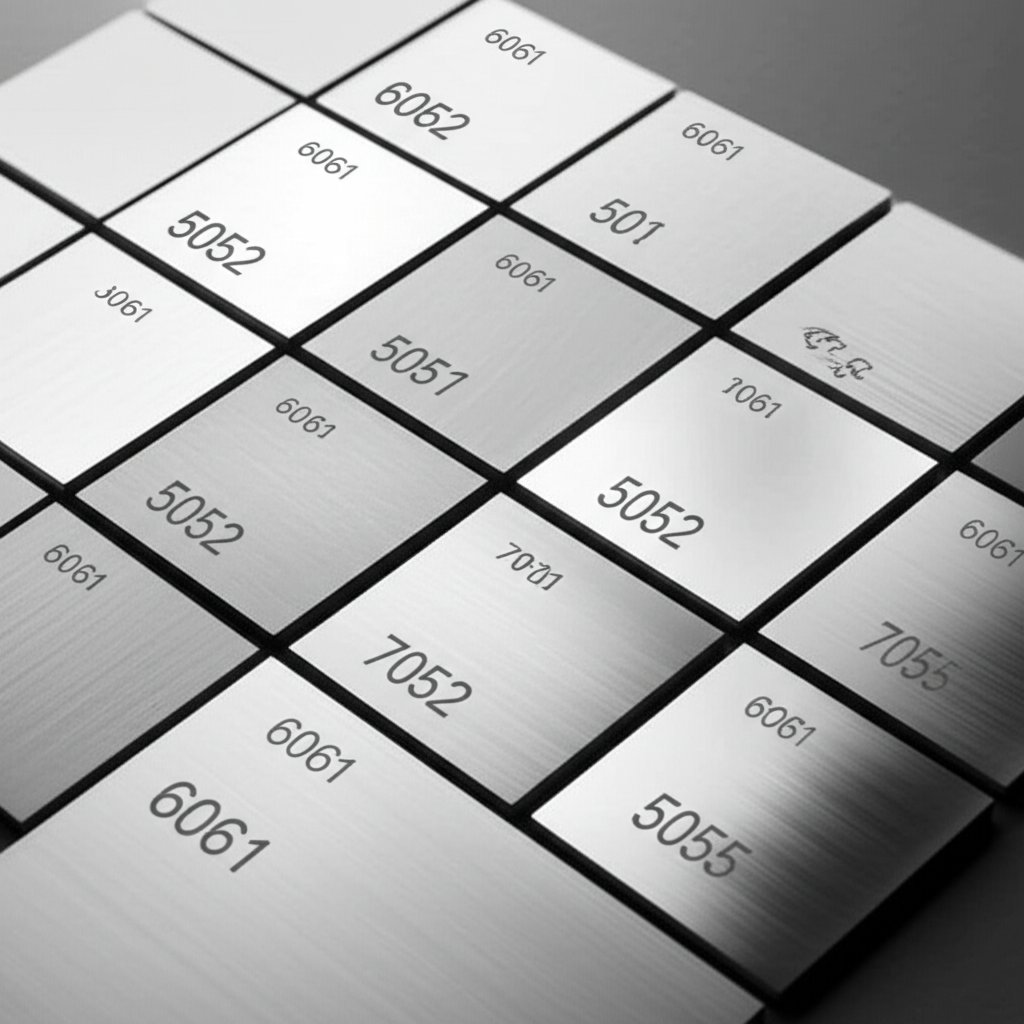
In today’s market, the most common format for quarter inch aluminum plate is the 4x8 foot sheet, though cut-to-size blanks are widely available for custom projects. You’ll also find typical tempers like 6061-T6—well-known for its strength and machinability—and 5052-H32, valued for its corrosion resistance and formability. These tempers refer to the material’s heat treatment and mechanical properties, which directly impact how the 1/4 inch aluminum plate performs in real-world conditions.
When specifying aluminum plates for critical applications, it’s standard practice to require compliance with ASTM B209. This specification covers both aluminum plate and sheet, ensuring uniformity in thickness, flatness, and mechanical properties across suppliers (ASTM B209).
Why is the 1 4 aluminum plate so popular across industries? Imagine you’re designing a machine base, a marine bracket, or a chassis panel—the kind of parts that simply can’t flex or deform under load. The extra thickness of a quarter inch plate delivers the stiffness and reliability engineers count on. Here are some of the most common applications:
In 2025, industries ranging from marine and transportation to aerospace, automation, and architectural fabrication all rely on quarter inch aluminum plate for its unique combination of workability and strength.
As you plan your next project, remember that the right choice of alloy, certification, and cutting method will make a big difference in both cost and performance. For those seeking a reliable source of certified stock and cut-to-size service, 1/4 aluminum plate from Shengxin—a professional aluminum profile manufacturer in China—provides a vetted starting point for procurement.
In summary, whether you’re building a machine frame, a marine bracket, or a custom chassis, understanding the fundamentals of aluminum plate versus sheet helps you make smarter, safer, and more cost-effective decisions. The right aluminium plate can transform your design, offering the rigidity and durability your application demands—so you can build with confidence from the start.
When you look at a 1/4 aluminum plate and wonder, “Which alloy is the best fit for my project?”—you’re not alone. The answer depends on how you’ll use the plate: Will it face saltwater? Does it need to be bent or welded? Or is maximum strength the top priority? Let’s break down the main options so you can match the right alloy and temper to your needs with confidence.
For quarter inch aluminum plate, five alloys dominate the landscape: 6061, 5052, 3003, 2024, and 7075. Each brings a distinct balance of strength, formability, weldability, and corrosion resistance. Here’s how they stack up for real-world applications:
| Alloy | Tensile Strength (psi) | Yield Strength (psi) | Elongation (%) | Machinability | Weldability | Corrosion Resistance | Relative Cost | Recommended Uses |
|---|---|---|---|---|---|---|---|---|
| 6061-T6/T651 | 38,000–45,000 | 35,000–40,000 | 12–17 | Excellent | Good | Good | $$ | Structural, machined, general fabrication |
| 5052-H32 | 31,000–38,000 | 28,000–34,000 | 12–18 | Good | Excellent | Excellent | $ | Bent parts, marine, welded assemblies |
| 3003-H14 | 21,000–22,000 | 16,000–18,000 | 20–30 | Good | Excellent | Good | $ | General forming, moderate strength |
| 2024-T351 | 62,000–70,000 | 42,000–50,000 | 15–20 | Good | Fair | Fair | $$$ | Aerospace, high-stress parts |
| 7075-T6 | 73,000–78,000 | 63,000–73,000 | 11–13 | Good | Poor | Fair | $$$$ | Aerospace, high-strength, machined |
| 6063-T6 | 38,000 | 31,000 | 12–15 | Good | Good | Excellent | $$ | Architectural, decorative, moderate strength |
*Values are typical ranges for plate thicknesses.
Note on tempers: T6 (solution heat treated and artificially aged) is standard for 6061, while T651 includes stress relief by stretching, offering better dimensional stability for tight-tolerance work. For 6061 t6 aluminum plate, T651 is preferred for CNC machining, as it resists warping after cutting.
Imagine you’re building a load-bearing machine base or a robotic fixture. Here, 6061-t6 plate shines for its blend of strength and machinability, making it a top pick for structural and precision-machined parts. If your project calls for bending or forming—think marine brackets or custom enclosures—5052-H32 is the go-to. Its high ductility and excellent weldability mean fewer cracks and smoother bends, especially at 1/4 inch thickness.
For applications where extreme strength is the priority, such as aerospace components or high-performance sporting goods, 7075-T6 leads the pack. However, it’s less forgiving for welding or forming and comes at a premium price. Aluminum 6063 plate, while not as strong as 6061, is sometimes chosen for architectural or decorative projects where finish and corrosion resistance are paramount.
Will your 1/4 inch aluminum plate face harsh environments? 5052-H32 offers excellent resistance to saltwater and chemicals, making it ideal for marine and outdoor use. 6061 aluminum alloy plate provides good corrosion resistance, but welded zones may require additional protection. For critical welded assemblies or when aesthetics matter, consider the impact of filler alloys and post-weld treatments.
Aluminum plate 6061 and 6063 are both weldable, but 6063 is especially valued for anodized finishes and architectural work. On the other hand, 2024 and 7075 are generally avoided in welded structures due to their susceptibility to cracking and lower corrosion resistance after welding.
For most builds, start with 6061-T6 for strength and machining, 5052-H32 for bends and marine use, and 7075-T6 only when maximum strength is non-negotiable.
Now that you know which alloy and temper will match your needs, the next step is to ensure your design accounts for weight and handling—because the right choice isn’t just about performance, but also practicality on the shop floor.
Ever wondered how much a 1/4 aluminum plate actually weighs before you order or move it? Getting these numbers right isn’t just a paperwork detail—it’s essential for safe handling, accurate shipping costs, and making sure your structure can support the load. Let’s break it down step by step, so you can quickly estimate aluminum weight for any project.
Sounds complex? It’s actually simple math! The industry-standard formula for aluminum weight per square foot is:
For a 1/4 inch aluminum plate (0.250 inch):
So, if you’re calculating the weight of 1 4 aluminum per square foot, you’ll get about 3.5 pounds per square foot. This is your go-to number for most planning tasks.
Let’s put this formula to work with real-world examples. Imagine you’re ordering a standard 4x8 aluminum sheet 1/4 thick:
Need something smaller? A 12 × 12 inch (1 ft²) plate at 1/4 inch thick weighs just 3.51 lb—easy to handle, but still sturdy. For metric planning, a 1 m² plate at 6.35 mm (1/4 inch) thickness is about 17.1 kg.
If you’re working internationally or need to convert, here’s a handy table for common thicknesses:
| Thickness (inches) | lb/ft² | kg/m² |
|---|---|---|
| 1/8 (0.125) | 1.76 | 8.6 |
| 3/16 (0.1875) | 2.64 | 12.9 |
| 1/4 (0.250) | 3.51 | 17.1 |
| 3/8 (0.375) | 5.27 | 25.7 |
| 1/2 (0.500) | 7.03 | 34.3 |
*Values based on a standard aluminum density of 0.0975 lb/in³ (2.7 g/cm³). Minor variations may occur by alloy.
The industry density baseline for aluminum weight is 0.0975 lb/in³ (2.7 g/cm³). Alloy differences cause only small weight changes—so standard formulas work for most needs.
Remember, if your design includes cutouts or holes, simply subtract the area of those features from your total before multiplying by the per-square-foot weight. This linear relationship makes it easy to update estimates for brackets, panels, or chassis with custom shapes.
With your weight calculations dialed in, you’re ready to plan shipping, rigging, or structural supports with confidence. Next, let’s explore the best ways to cut and fabricate your 1/4 aluminum plate for clean, precise results.
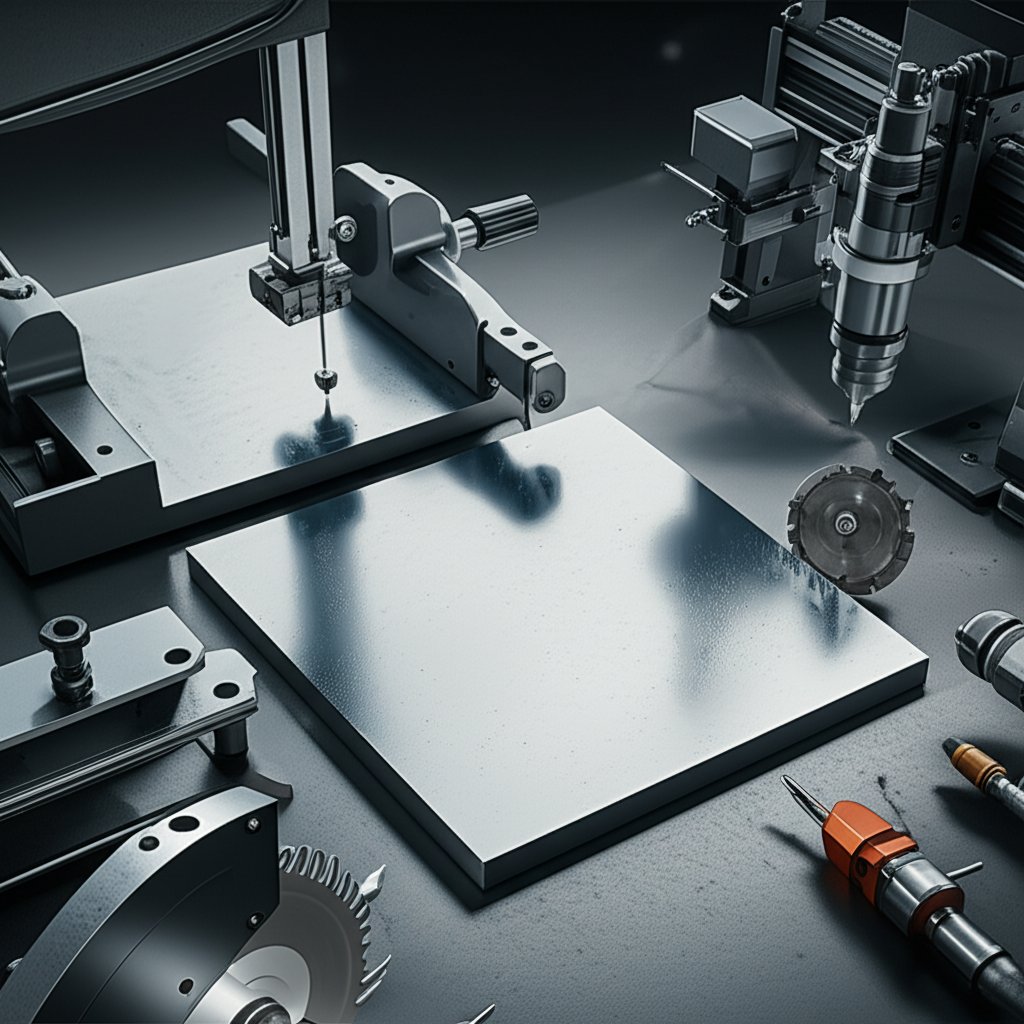
When you’re ready to turn a raw aluminum plate 1/4 thick into finished parts, the cutting method you choose can make or break your results. Will you get a crisp, burr-free edge, or end up with rough cuts that need hours of cleanup? Let’s walk through the most effective ways to cut 1/4 in aluminum plate—from classic saws to advanced CNC machines—so you can match your project’s needs for speed, precision, and finish.
Sounds complex? It doesn’t have to be. Here’s a side-by-side look at the most common ways to cut .25 aluminum plate and 1 4 thick aluminum plate—whether you’re in a small shop or a high-volume fabrication facility:
| Process | Speed | Edge Quality | Heat-Affected Zone (HAZ) | Tolerance | Typical Use/Cost |
|---|---|---|---|---|---|
| Band Saw | Moderate | Good, minor burrs | Minimal | ±0.030" | Shop fab, low cost |
| Cold Saw | Moderate | Very good, clean edge | Minimal | ±0.015" | Production, moderate |
| Router (CNC) | High | Excellent, minimal burrs | Minimal | ±0.005" | Complex shapes, moderate-high |
| Waterjet | Moderate | Excellent, no burrs | None | ±0.005" | Precision, moderate-high |
| Fiber Laser | Very high | Good, some dross/burrs | Small | ±0.010" | High speed, moderate-high |
| Plasma | Very high | Fair, rough edge | Large | ±0.030" | Rough fab, low |
Ever noticed how some cuts on aluminum metal plate are glass-smooth, while others are jagged or warped? That’s edge quality in action. Waterjet and CNC router methods deliver the cleanest, squarest cuts—ideal for parts that need minimal finishing or tight fit-up. Cold saws, with carbide blades (60–80 teeth for a 10-inch blade), also produce crisp edges on thick aluminum. Band saws work well for general shop use, but you’ll often need to deburr the edge afterward.
For best results, always use blades designed for non-ferrous metals and apply lubricant (like WD-40 or metal cutting wax) to reduce friction and prevent chip buildup. This is especially important for thick aluminum, where heat and chip clogging can ruin both the blade and the workpiece.
Burrs and heat distortion can turn a perfect cut into a finishing headache. Waterjet cutting stands out for producing burr-free, cool edges, making it the top choice for critical or visible parts. Fiber laser and plasma are fast, but can leave dross or a small heat-affected zone (HAZ) that may require secondary cleanup—especially on 1 4 aluminum sheet metal or thick aluminum plate. If edge finish is key, plan for light sanding or deburring after these thermal processes.
For best edge quality on 1 4 aluminum sheet metal, choose waterjet or CNC router for tight tolerances, and always set up for safety and chip control when working with thick aluminum.
Once you’ve mastered clean, accurate cutting, you’ll be ready to move on to machining details—where feeds, speeds, and chip control take center stage for your next fabrication step.
When you’re ready to turn a thick aluminum plate like 1/4 inch 6061-T6 into precision parts, the difference between a smooth finish and a ruined tool often comes down to dialing in your machining parameters. Sounds complex? Not when you break it down step by step. Let’s cover the essential feeds, speeds, drilling, tapping, and chip control techniques that keep your shop running efficiently—and your parts looking sharp.
Imagine you’re setting up a CNC router or mill for plate 6061 or aluminum 6061 plate. What numbers should you punch in? The right feeds and speeds depend on your tooling and machine rigidity, but here’s a practical guide based on industry standards and real-world experience (Explore Composites):
Don’t be tempted to run too slow—this can cause rubbing, excessive heat, and tool breakage. Instead, check your chips: They should be real, curled chips, not powder or long stringers. For a 1/4 inch single-flute carbide cutter, try starting at 15,000 RPM and 0.002–0.003 in/tooth for routers, and adjust up for stiffer machines.
Drilling and tapping aluminum 6061 plate brings its own set of rules. You’ll notice that the right bit geometry and chip control are critical for clean holes and long tool life (Jarvis Cutting Tools):
For CNC tapping, forming taps are ideal—especially for 6061-T6/T651, as they produce strong threads and longer tap life. For manual tapping, back out every few turns to break chips and prevent binding.
Ever had a cutter gum up or a tap seize in a t651 plate? That’s a sign you need better chip evacuation and cooling. Here’s how to keep things running smooth, even on thick aluminum plate:
Interrupted cuts near clamps or unsupported areas can cause chatter and poor finish—use soft jaws, full backing, and minimize tool stick-out for best results on thin or wide plates.
By following these guidelines, you’ll achieve clean, accurate results on every aluminum 6061 plate—and set up your next bending or welding step for success. Ready to form your parts? Let’s look at best practices for bending 1/4 inch plate without sacrificing ductility or finish.
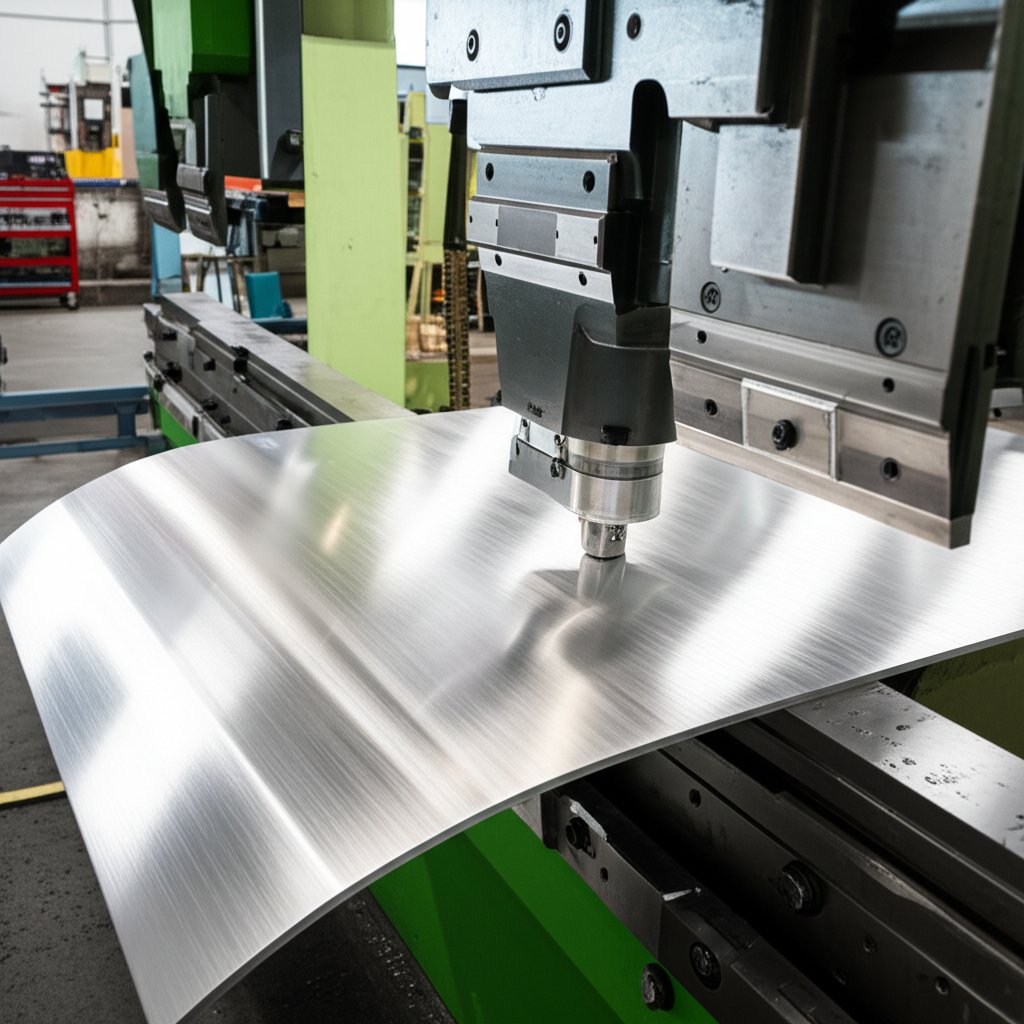
Ever tried bending a 1/4 aluminium plate and watched it crack or spring back, ruining your part? You’re not alone. Bending thick aluminum sheet—especially at a quarter inch—demands careful planning, the right alloy, and a solid grasp of metal forming fundamentals. Let’s walk through how to achieve clean, accurate bends in 1/4 aluminum without sacrificing ductility or finish.
Not all alloys bend the same. The minimum inside bend radius is critical—too tight, and you risk cracks; too wide, and you lose precision. Here’s a quick reference for common alloys and tempers used in 1 4 sheet metal bending:
| Alloy & Temper | Minimum Inside Bend Radius (× thickness, t) | For 1/4 in Plate (inches) | Notes |
|---|---|---|---|
| 6061-T6 | 2–3×t | 0.50–0.75 | High risk of cracking; anneal for tighter bends |
| 5052-H32 | 1×t | 0.25 | Excellent for bending; low cracking risk |
| 3003-H14 | 1–1.5×t | 0.25–0.38 | Good ductility; moderate strength |
If you need a tight bend with 6061, consider annealing to O temper or, better yet, switch to 5052-H32 for a more forgiving process.
When you’re setting up to bend 1 4 inch aluminium plate on a press brake, the right tooling makes all the difference. Here’s a checklist to help you get it right:
For air bending, the punch does not fully seat the plate into the die, giving you more flexibility and less tool wear. For bottom bending or coining, expect higher tonnage and tighter control—best for critical angles or repeat production.
Springback is the tendency of 1 4 in aluminum plate to unbend slightly after release. To counteract this, overbend the plate by 1–2 degrees beyond your target angle. For best results:
Remember, excessive force or repeated bending can cause fatigue or surface damage. Always handle bent parts with care to preserve the finish and structural integrity.
Rule of thumb: When bending is critical, choosing 5052-H32 over 6061-T6 in 1/4 sheet metal often saves time, reduces cracking, and minimizes scrap.
With your bends dialed in, you’re ready to move on to joining—where proper welding technique ensures your formed parts stay strong and reliable.
Welding aluminum 1/4 plate—especially 6061—can look deceptively simple, but getting a strong, reliable joint means respecting the unique challenges of aluminum. Have you ever seen welds crack, warp, or lose strength? Let’s walk through proven, step-by-step procedures for both TIG and MIG welding, so your 1/4 plate aluminum delivers the performance your project demands.
Before striking an arc, joint preparation is everything. Why? Because aluminum forms a tough oxide layer that melts at a much higher temperature than the base metal—so skipping prep leads to poor fusion and weak welds.
Which filler is best for aluminum plate metal in 6061? Here’s how to decide:
For most structural or general fabrication, ER4043 is the default pick for 6061. If aesthetics or post-weld anodizing matter, ER5356 is usually worth the extra care.
Why does heat input matter so much in aluminum 1/4 plate welding? Because aluminum’s high thermal conductivity means excess heat quickly spreads, softening the heat-affected zone (HAZ) and reducing strength—especially in T6 tempers.
Always assume the HAZ of welded 6061-T6 aluminum plate is the weak link—design conservatively and avoid critical loads near welds.
Once your welds are complete, inspect for cracks, porosity, or incomplete fusion. For structural or high-load applications, consider non-destructive testing (NDT) or mechanical testing of sample joints. Ready to finish your fabricated parts? Next up: surface prep, corrosion protection, and safety tips that ensure your work stands the test of time.
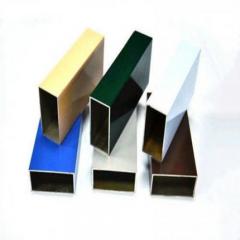
Imagine you’ve just welded, machined, or bent your 1/4 aluminum plate—what’s next to make sure it lasts and looks great? The finishing process is more than just a final touch; it’s essential for safety, corrosion resistance, and long-term performance. Let’s break down how to finish, protect, and handle your aluminum sheet plate, so your project stands the test of time and use.
Sounds complex? Not when you follow a clear step-by-step process. Whether you want a polished aluminum sheet or the classic look of brushed aluminum sheets 4x8, here’s how to prepare your plate for finishing:
Quality surface prep is the #1 factor in achieving durable, beautiful finishes—no coating can hide poor prep work.
When you use aluminum in marine, outdoor, or industrial settings, corrosion can sneak up on you. Here’s how to keep your aluminum sheet plate looking and performing its best:
Finishing aluminum is about more than appearance—it’s also about keeping you and your team safe. Here’s a quick checklist:
By following these finishing, protection, and safety steps, you’ll ensure your project not only looks professional—whether you want a polished aluminum sheet or a robust anodized aluminum sheet 4x8—but also stands up to the rigors of real-world use. Next up: how to specify and source your 1/4 aluminum plate with confidence, so you get exactly what your design demands.

When you set out to buy aluminum plate for a critical project, you want to avoid hidden costs, delays, or—worse—receiving the wrong material. Sounds complex? It doesn’t have to be. With a clear sourcing workflow and a few insider tips, you can ensure every 1/4 aluminum plate you order meets your specs, arrives on time, and delivers the performance you’re counting on.
Imagine you’re specifying a 4x8 aluminum sheet 1/4 thick for a machine base or a marine bracket. What details make or break your order? Here’s a field-tested checklist to guide every purchase, whether you’re ordering one plate or a hundred:
Ever wondered why the aluminum plate price can swing so much—even for the same size and grade? Let’s break down the main cost and lead time factors for a 4x8 sheet of 1/4 inch aluminum price in 2025:
| Cost Driver | Impact | Notes |
|---|---|---|
| Alloy & temper | High | 6061-T651 usually costs more than 5052-H32; aerospace grades (e.g., AMS 4027) add premium |
| Thickness & size | Medium | Heavier/thicker plates cost more per square foot; oversize or custom sizes may carry surcharges |
| Surface finish | Medium | Brushed, anodized, or painted plates add process and material costs |
| Certification | Medium | Full MTRs, ASTM/AMS compliance, or 3rd-party testing adds to price |
| Cut-to-size/fab | Medium | Custom cutouts, CNC, or waterjet work are billed per job or inch |
| Remnant vs. new stock | Low–Medium | Remnants may be cheaper but offer less traceability and fewer size options |
| Freight & handling | Medium–High | Large/heavy plates increase shipping cost; crating and insurance may be extra |
| Market surcharges | Variable | Energy costs, global demand, and alloying metals can cause price swings |
For small-lot jobs, you may pay a premium for single plates or offcuts. For larger projects, ask about volume discounts, mill-direct orders, or consolidated shipments to save on freight. If you’re searching for “aluminum plate near me,” remember that local stockists can offer faster lead times but may have less selection in specialty grades or sizes.
To streamline your sourcing, consider working with a supplier that offers both certified stock and custom cut-to-size service. 1/4 aluminum plate from Shengxin—a professional aluminum profile manufacturer in China—gives you access to a wide range of alloys, reliable documentation, and flexible order quantities, making it easier to match your project’s technical and budget needs.
Imagine receiving a shipment of aluminum plate stock, only to discover it isn’t what you ordered. Preventing that scenario starts with clear documentation and a robust inspection process:
Clear specs, certified documentation, and a disciplined inspection routine are your best defense against costly surprises when you buy aluminum plate.
By following this playbook, you’ll be equipped to source 1/4 aluminum plate with confidence—whether you’re buying locally or globally, in small lots or bulk. Remember, the right supplier and a detailed checklist are the keys to getting the quality, value, and peace of mind your project deserves.
A 1/4 aluminum plate is an aluminum product with a thickness of 0.250 inch or more, offering higher rigidity and load-bearing capacity than thinner aluminum sheet. Plates are chosen for structural and heavy-duty applications where strength is a priority, while sheets are used for lighter, more flexible needs.
The best alloy depends on your application. 6061-T6 is popular for structural and machined parts due to its strength and machinability. 5052-H32 is ideal for parts requiring bending or marine use because of its excellent corrosion resistance and formability. For maximum strength, 7075-T6 is used in demanding environments, but is less weldable.
A standard 4x8 sheet of 1/4 inch aluminum plate weighs approximately 112 pounds. This calculation is based on the industry formula of 3.51 lb per square foot for 1/4 inch thickness, multiplied by the area of the sheet (32 square feet).
For clean, precise cuts, waterjet and CNC router methods are preferred, offering minimal burrs and tight tolerances. Band saws and cold saws are suitable for straight cuts, while plasma and fiber lasers are faster but may require additional edge finishing. After cutting, deburring, edge breaking, and surface brushing help ensure a safe and attractive finish.
Certified 1/4 aluminum plate can be sourced from reputable suppliers like Shengxin, a professional aluminum profile manufacturer in China. They offer a range of alloys, custom cut-to-size options, and full certification to meet project requirements.


 Інтернет-сервіс
 0086 136 3563 2360
 sales@sxalu.com
 +86 136 3563 2360
 Українська
 English
 français
 Deutsch
 русский
 español
 português
 العربية
 ไทย
ไทย Việt
Việt